While attending the BSA Certified Angling Instructor course, I learned about a new tool for teaching knot tying.
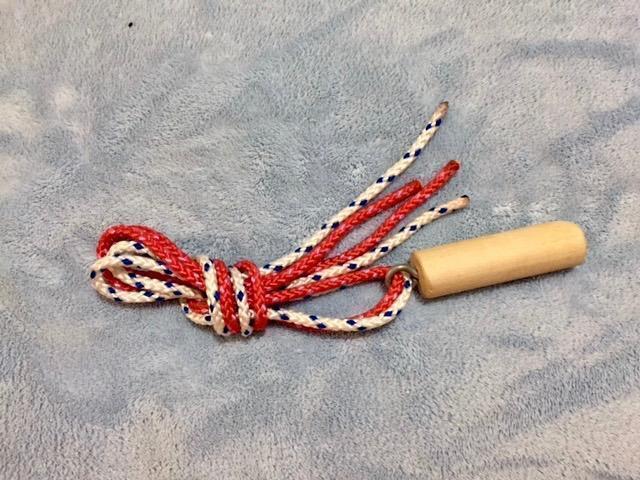
So simple... a 4 inch piece of wood dowel, an eye screw, and two pieces of cord... (3 ft. long and of different colors)
[attachment=4]Knot 1.jpg[/attachment]
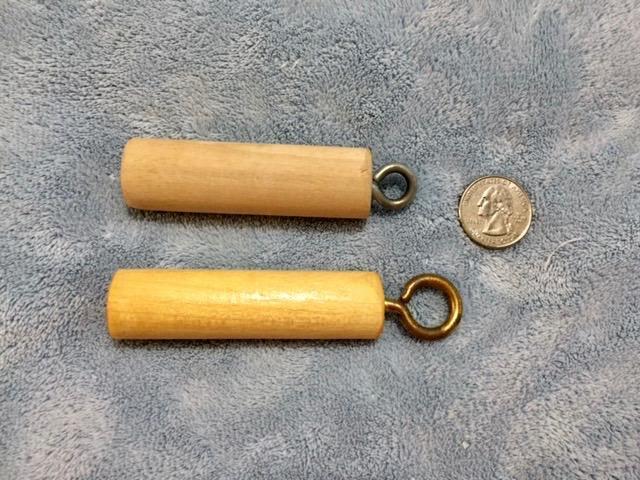
On the second batch I used a larger eye screw. Just a little easier to tye with when doubling your line. If you want to get a long wood dowel and cut it into 4 inch pieces... do the sanding before you cut... then just use sand paper to smooth out your cuts.
The wood piece with the eye screw represents a lure or fly. I'm told that a square piece is easier for kids to hold, but I already had several round wood dowels on hand.
[attachment=3]Knot 2.jpg[/attachment]
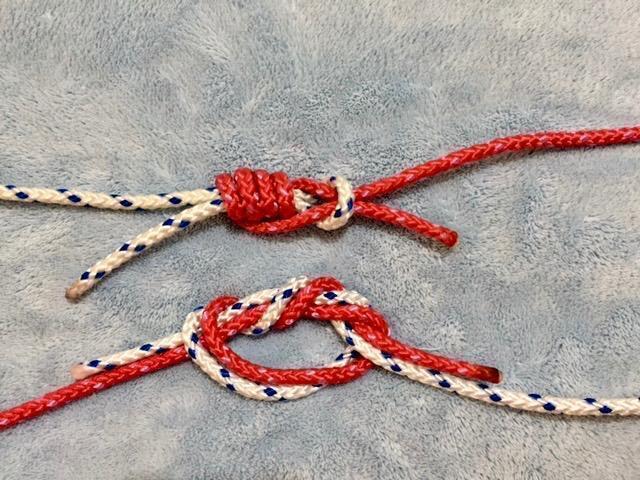
The larger cord is easier to manipulate in small hands than monofilament fishing line while learning to tye the fishing knots. It's also a lot easier to see than monofilament. DO NOT use para cord... it's too stiff and just doesn't work as well as a softer braided cord of about the same diameter. By using two different colors, it's easy to see how the line goes in a knot when tying two lines together.
[attachment=2]Knot 3.jpg[/attachment]
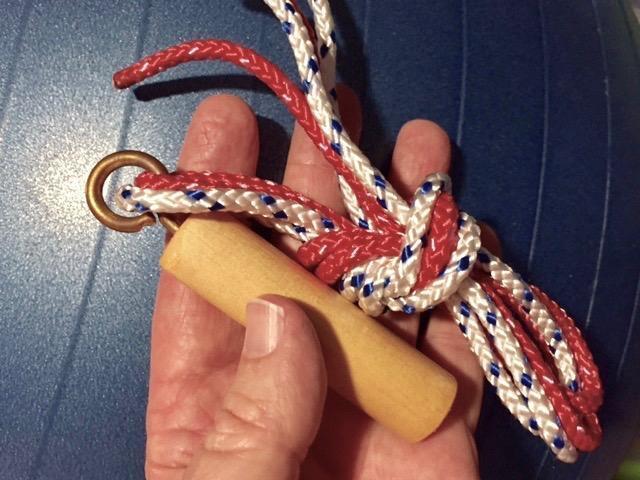
The two cords can also be used to teach knots for tying line to the reel arbor, backing to fly line, and fly line to leader... and of course the knots used to the your fly to the leader. LOL
[attachment=1]Knot 4.jpg[/attachment]
Remember, we're learning the fishing knots here... after you get the knot down, then you can switch to monofilament and practice more.
I've also found that these little "Knot Tying Kits" are also great for teaching the basic Boy Scout knots to kids. We had the Cub Scouts sand and screw the eye screw into their piece of wood, then cut and burn the ends of their ropes. Now each scout has their own to practice with.
I still don't know what to call this thing. ???
[attachment=0]Knot 5.jpg[/attachment]