|
Forums59
Topics1,039,374
Posts13,963,526
Members144,202
| |
Most Online39,925
Dec 30th, 2023
|
|
 BIRCH BARK GRIP TUTORIAL. Hope you enjoy it.
#8292484
12/03/12 04:03 AM BIRCH BARK GRIP TUTORIAL. Hope you enjoy it.
#8292484
12/03/12 04:03 AM
|
Joined: Aug 2012
Posts: 194
Rodbuilder1971
 OP
OP
Outdoorsman
|
|
OP
Outdoorsman
Joined: Aug 2012
Posts: 194 |
How to build a birch bark grip. I used white birch but red birch and black birch is a common tree in Texas. Strat off by finding dead trees (always better than stripping a live tree and killing it) and even better after it rains due to the bark is waterproof and will come off easier from the tree. Bring a claw hammer and just make a hammer line down the center of the tree and it should peel right off in big strips. 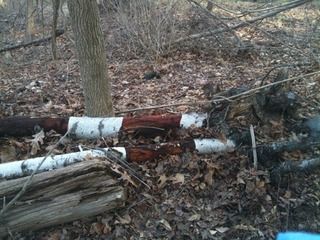
|
|
|
Re: BIRCH BARK GRIP TUTORIAL. Hope you enjoy it.
[Re: Rodbuilder1971]
#8292488
12/03/12 04:04 AM
|
Joined: Aug 2012
Posts: 194
Rodbuilder1971
OP
Outdoorsman
|
|
OP
Outdoorsman
Joined: Aug 2012
Posts: 194 |
Take the strips and throw them all in a bag. When you get the strips home, wet them down and soak them in the sink over night. You can use a pan or glass bake sheet to hold them down in the water. In the morning you will take the strips and peel off all the outer bark layers till you are left with a thick paper. Using some green scratch pads works great for this and picking the corners to peel it also works pretty good. 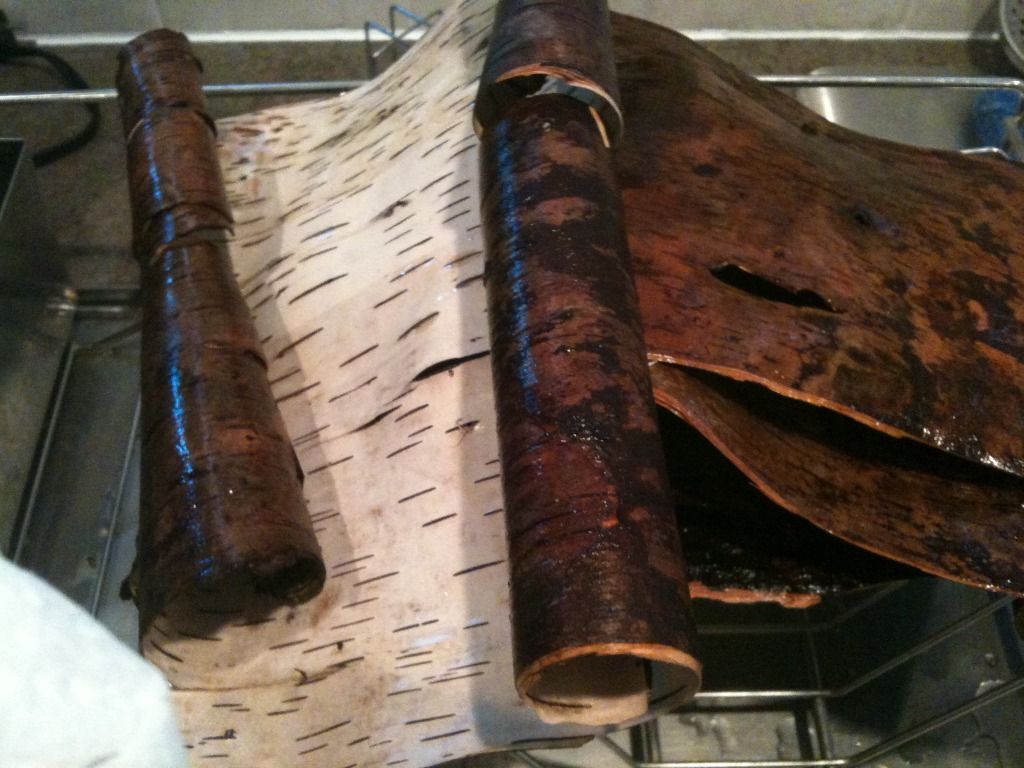 Pre peeled birch bark squares. Found it easier to peel them clean this way after they were dried flat. Either way is fine though. 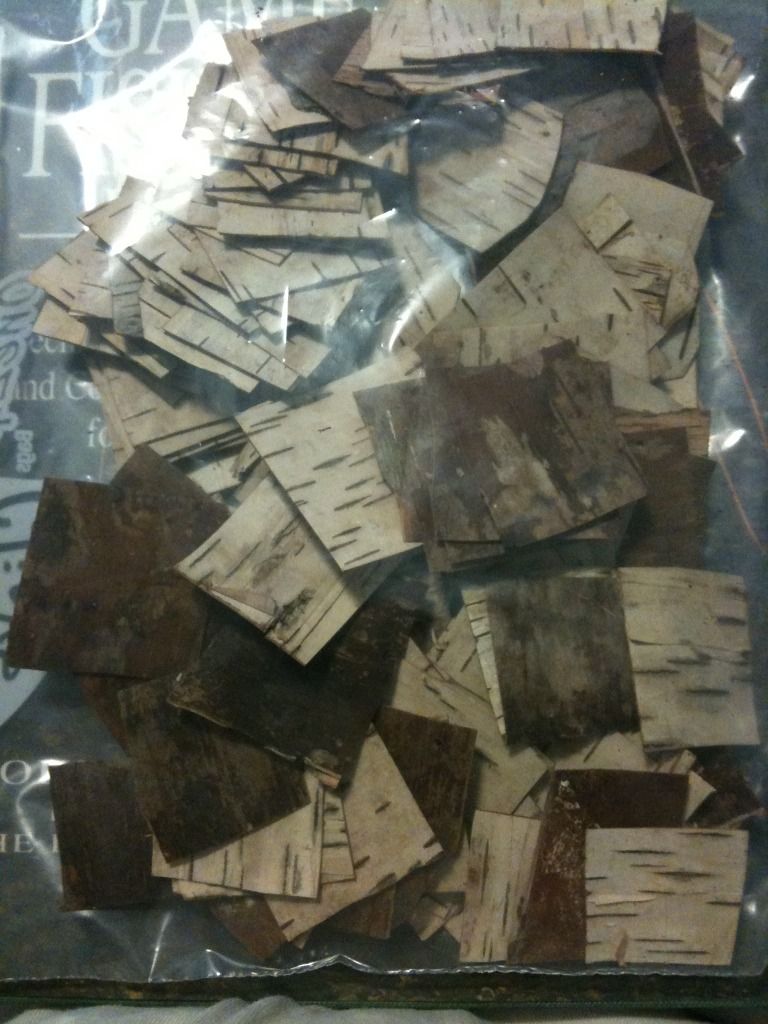
Last edited by Rodbuilder1971; 12/03/12 04:38 AM.
|
|
|
Re: BIRCH BARK GRIP TUTORIAL. Hope you enjoy it.
[Re: Rodbuilder1971]
#8292494
12/03/12 04:05 AM
|
Joined: Aug 2012
Posts: 194
Rodbuilder1971
OP
Outdoorsman
|
|
OP
Outdoorsman
Joined: Aug 2012
Posts: 194 |
After that you want to take the strips and dry them out (make sure they are completely dried out) by either putting them in a oven on really low heat between 2 baking sheets or making a heat box. Making a heat box is easy by just putting a low watage bulb in a wooden box by drilling a hole on the top and dropping the bulb in from the top. I personally use heat boxes with a thermostat built in lined with tin foil that I made to dry rod epoxy and recurve bows I make. 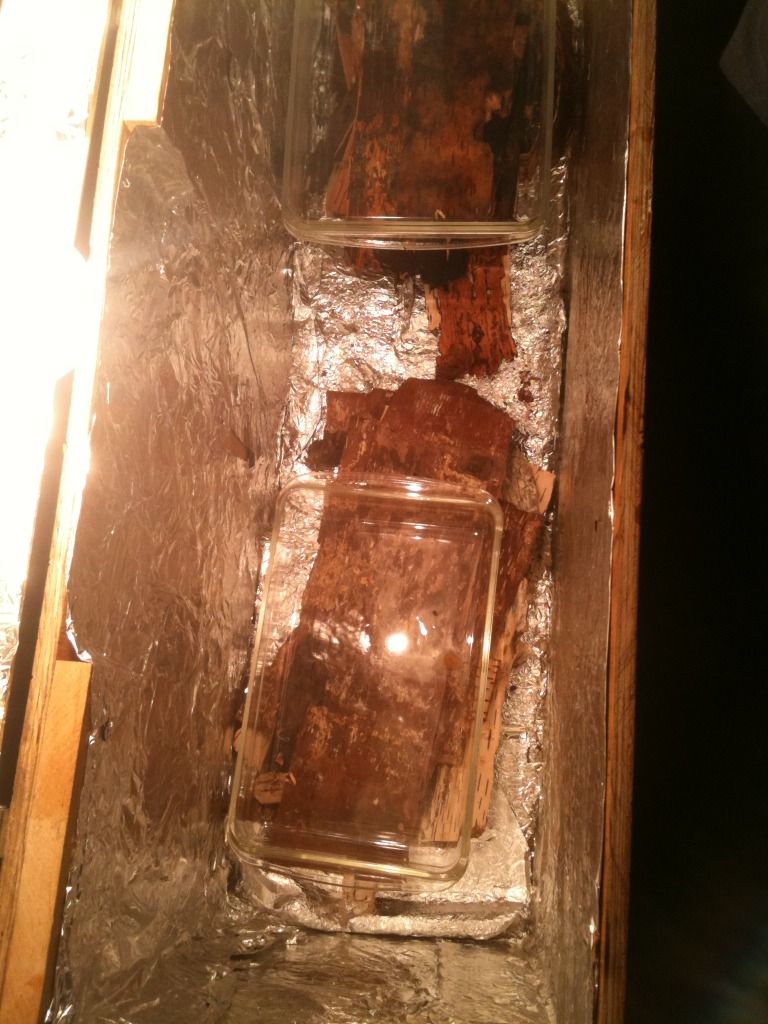 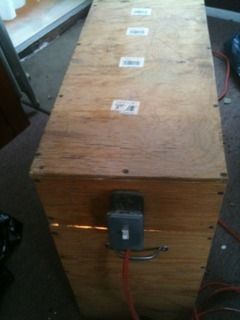 Epoxy dry box I made with cheap low wattage lights from Lowes and a thermostat from Grainger which cost under $5.00 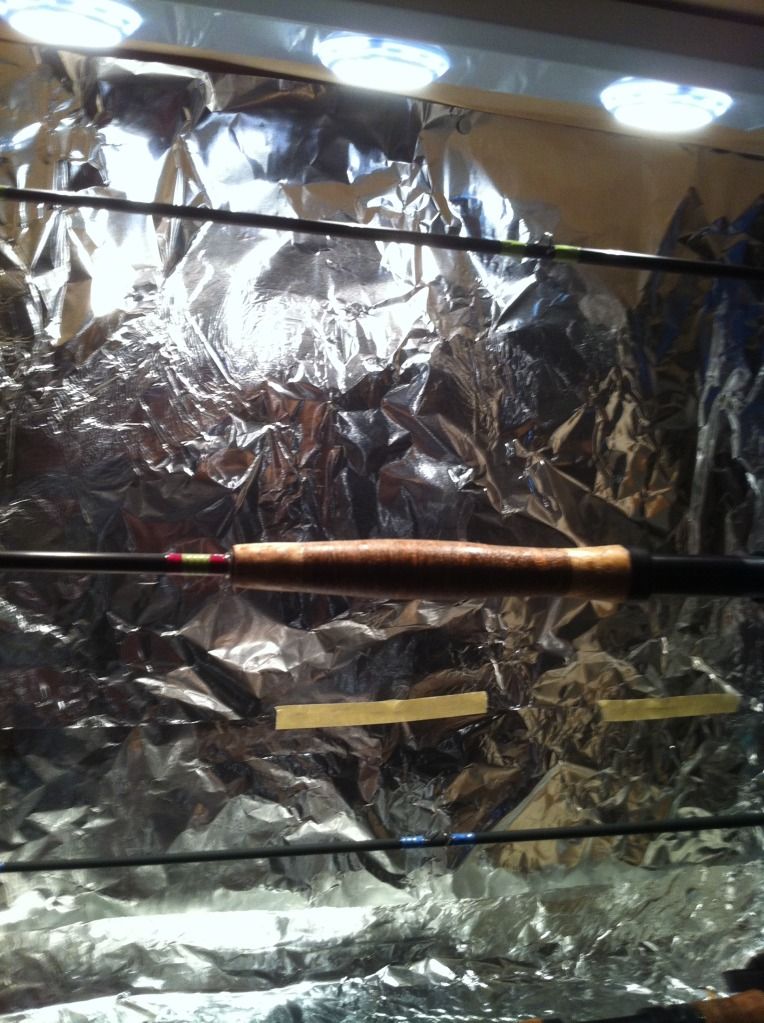 Made from 3/4 plywood, tin foil, a thermostat, some cheap low wattage lights from Lowes and weather stripping around the front so when it's clasped at the bottom no debris gets inside on the epoxy while drying. The front swings down closed and latches shut. 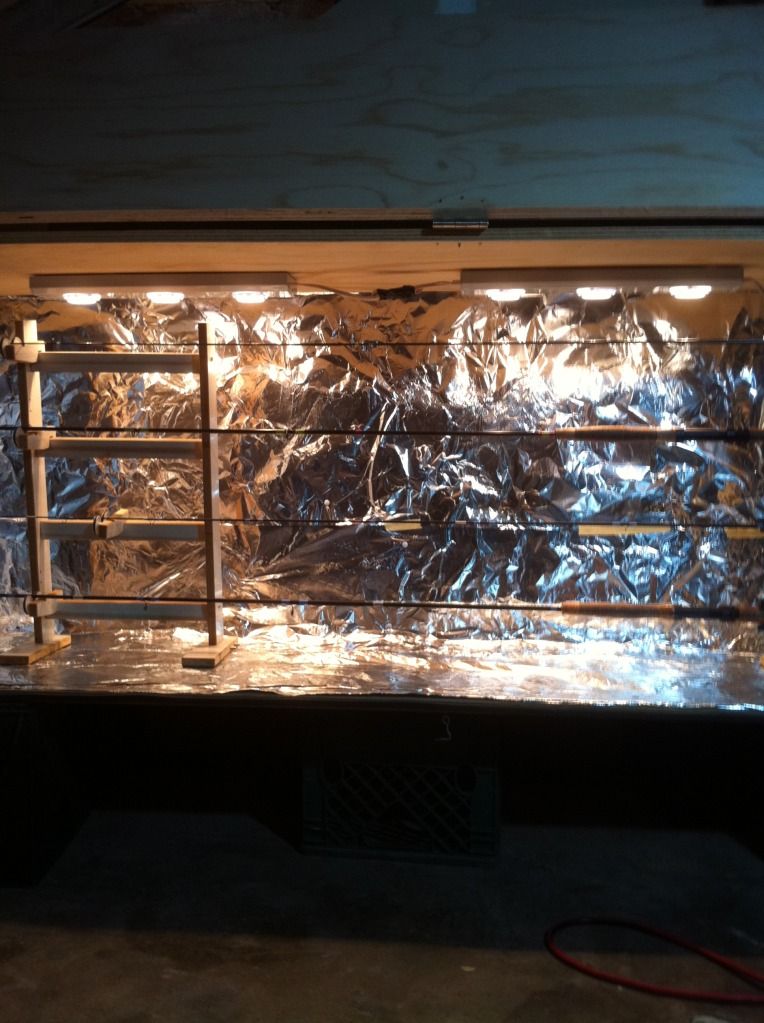
Last edited by Rodbuilder1971; 12/03/12 10:35 PM.
|
|
|
Re: BIRCH BARK GRIP TUTORIAL. Hope you enjoy it.
[Re: Rodbuilder1971]
#8292498
12/03/12 04:05 AM
|
Joined: Aug 2012
Posts: 194
Rodbuilder1971
OP
Outdoorsman
|
|
OP
Outdoorsman
Joined: Aug 2012
Posts: 194 |
After you have dried out the strips of bark you will cut them out in squares and then in to circles. I like to make circle stencils out of wood or plastic so I can trace them easier on the bark strips. After tracing them and cutting them all out I make a center marker in each circle or you can be lazy and just make one and drill the center hole through groups of 5 to 6 discs. I use a drill press or hand drill for this. 
|
|
|
Re: BIRCH BARK GRIP TUTORIAL. Hope you enjoy it.
[Re: Rodbuilder1971]
#8292505
12/03/12 04:06 AM
|
Joined: Aug 2012
Posts: 194
Rodbuilder1971
OP
Outdoorsman
|
|
OP
Outdoorsman
Joined: Aug 2012
Posts: 194 |
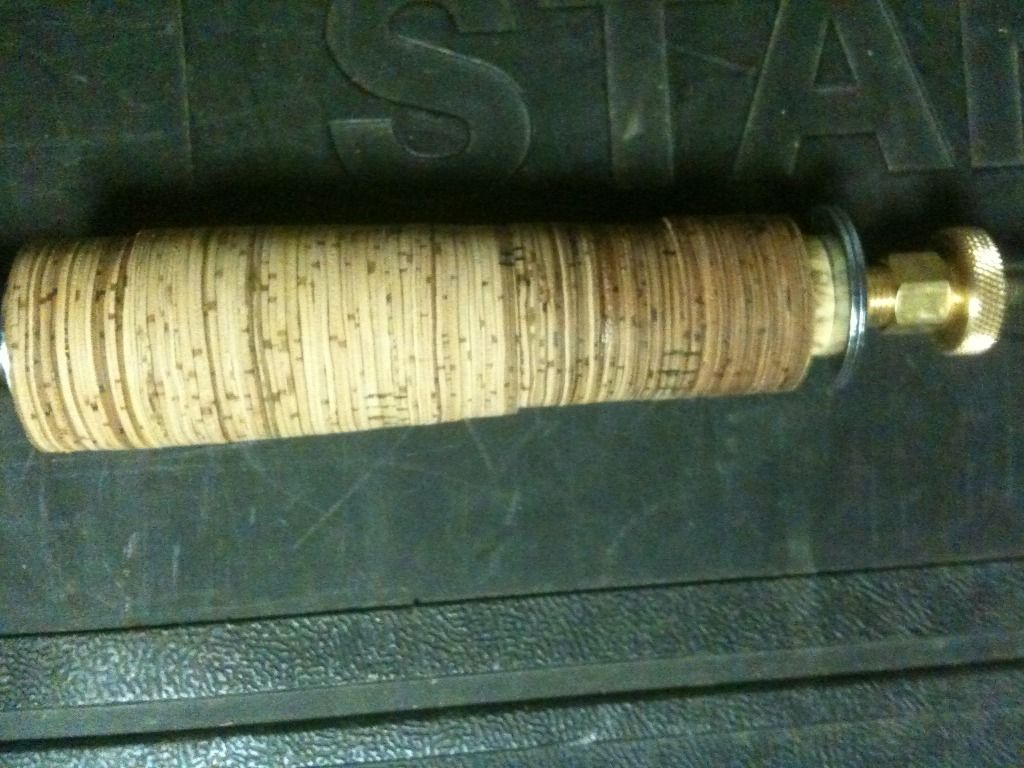
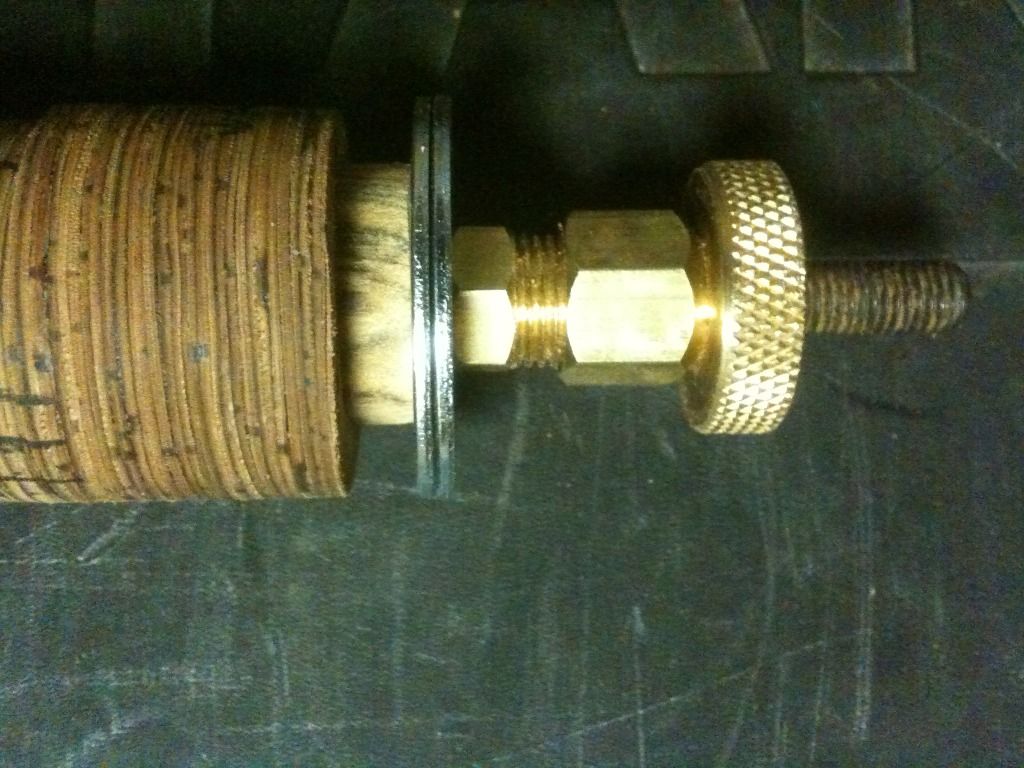
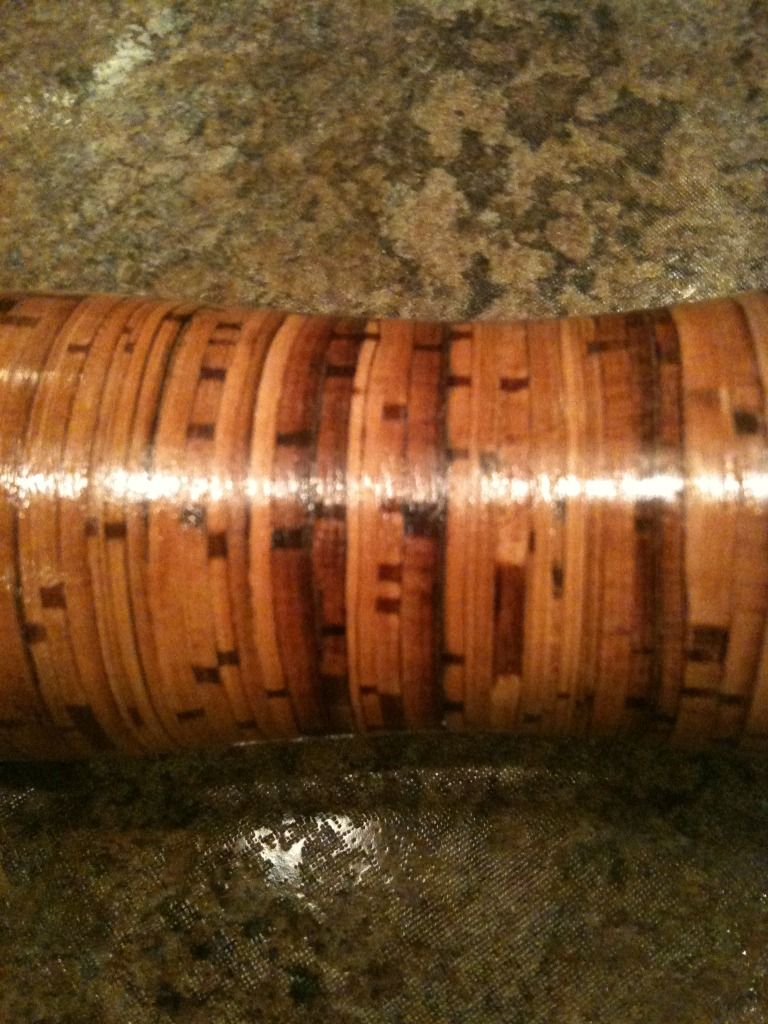
From there you will make them in to bundles and get ready to press them together. An easy way to press them together is to get a couple of steel threaded shafts from home depot or lowes, some wide washers and nuts to help clamp them tight on the shafts. Start by taping up the shaft with a thin layer of painters tape about the size of the bundle you are going to press. Put tape on the sides of the washers that will be touching the bundles. Use wax on the places where the tape is so the bundles will easily slide off after you are done pressing them. You can use a stick of bow string wax for this. Put a washer and nut on at one end of the threaded rod, place tape down on the rod and stack your first disc on the washer. Birch bark has slices in it and you will want these facing up as you lay them down. You can stack them alternating the direction of the slices which will give the grip more stability (doesn't have to be perfect and you can even get creative) . Use gorilla wood glue as it will dry clear and is great for bonding. Make sure when you glue the discs to glue both sides as you stack them down but make sure not to glue the outer side of the tops or the bundle will be hard to get off the rod lol. A cheap paint brush is good for this as it can get in between the circles as they are stacked down. Once you got a bundle made, put the other washer on and clamp it down tight with the other nut. Use some wrenches on the nuts to get the bundle on nice and snug. Wipe up the extra glue on the sides and repeat on the other side of the threaded rod. Bundle on a threaded rod drying.  Different sized diamaters for easy reaming.  All the dots are the lines in the birch bark. Bundles shaved down to make it easier to form the grip when put together on the rod.Don't worry about the pulled up piece because that piece will either be a front piece or the dip in the grip before the bottom of the grip. This can also be touched up with some dust and polyurethane when sanding down to shape the grip.  Phenolic glass squares that can be used for end caps or making wind checks. 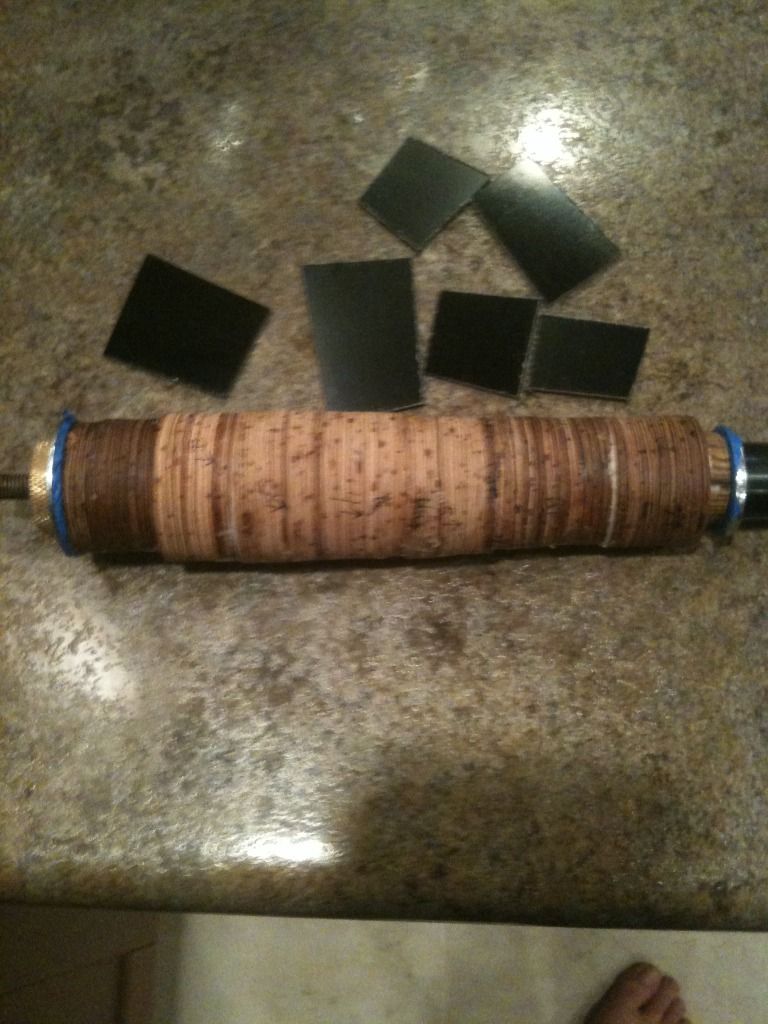
Last edited by Rodbuilder1971; 12/03/12 10:40 PM.
|
|
|
Re: BIRCH BARK GRIP TUTORIAL. Hope you enjoy it.
[Re: Rodbuilder1971]
#8292509
12/03/12 04:07 AM
|
Joined: Aug 2012
Posts: 194
Rodbuilder1971
OP
Outdoorsman
|
|
OP
Outdoorsman
Joined: Aug 2012
Posts: 194 |
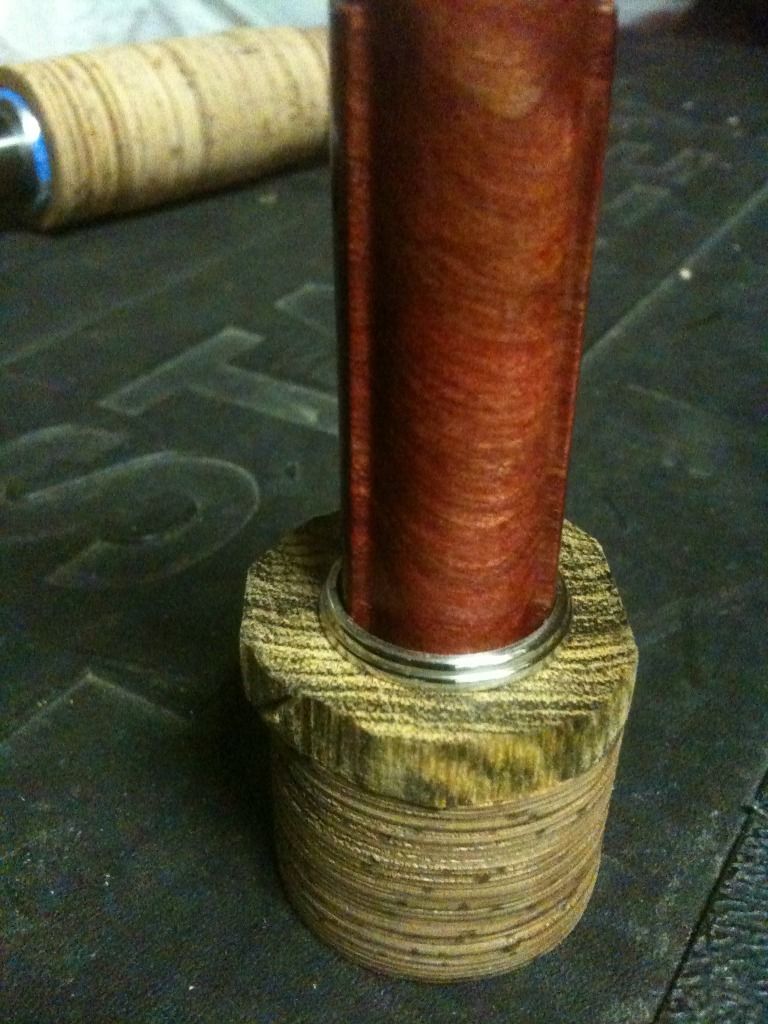
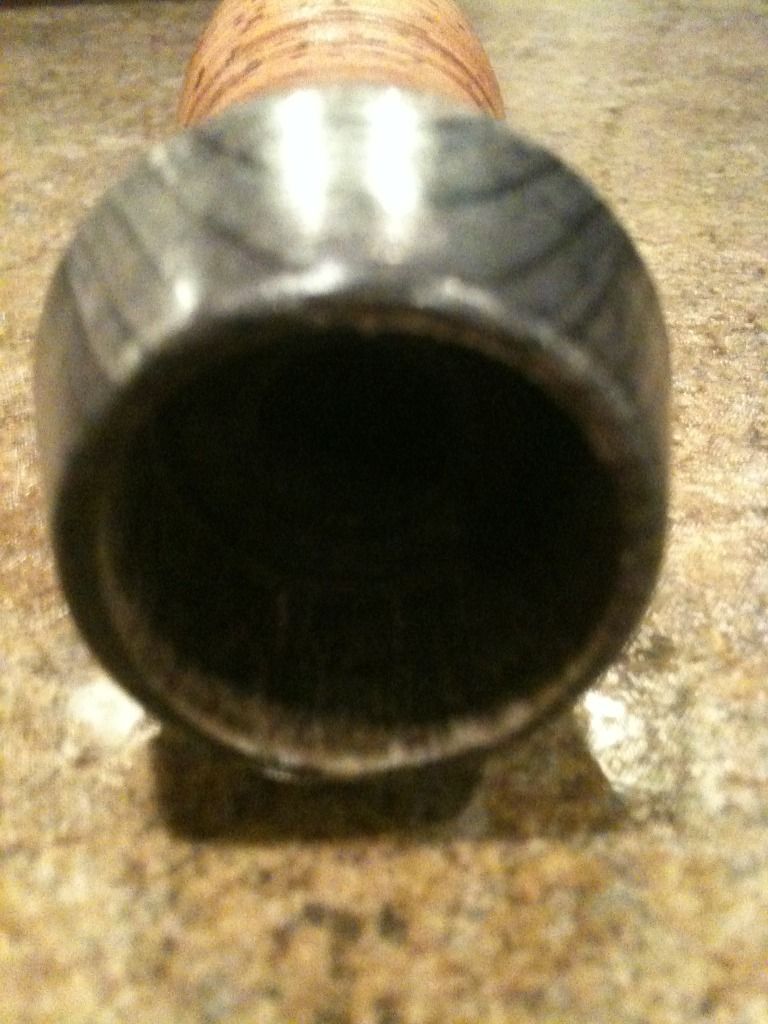
If you want to make wooden end caps then just start by putting one on before you start stacking the circles down on the threaded rod. Once they have dried twist the bundles off the threaded rod following the threads down to the end. Don't worry about the wax or if there is tape inside because you will get that out later on. I like to make my bundles small and large due to making reaming out the handle to fit on the rod blank easier. You can use a digital caliper tool and measure down the rod blank shaft for acurate tapering then make the bundes in that length and mark them with a number at the end of the threaded rod with a piece of tape so you will know the order to stack them down after. When you use this technique you can use different sized drill bits to drill out the center hole which will make reaming easier at the end. If you are not comfortable doing this then you can make a reaming tool by taking an old broken rod piece, cutting some strips of sand paper and spiraling them down the rod blank with quick epoxy. Leave space between the spirals of sand paper so the shavings have a place to go when reaming it out. Use the digital calipers to build up tape on the threaded rod so the grip will fit nice and perfect on the rod while you begin to shape it. For instance if you have 3 different sizes from the top of the blank to the bottom where the reel seat will sit. You drill out 3 different sizes of the center diameter of the bundles then you can build the tape up on the threaded rod easier so there will be no wobbling while you shape the grip. Makes it a lot easier and saves time. Once you have the bundles all drilled to size in the center, stack them on top of each other on the threaded rod, glue those together and clamp them down. Don't forget to wax down the tape again. Bundles drying with gray camo wood end caps. You can pick up great pieces of wood cheap from pen making supply companies like woodcraft. 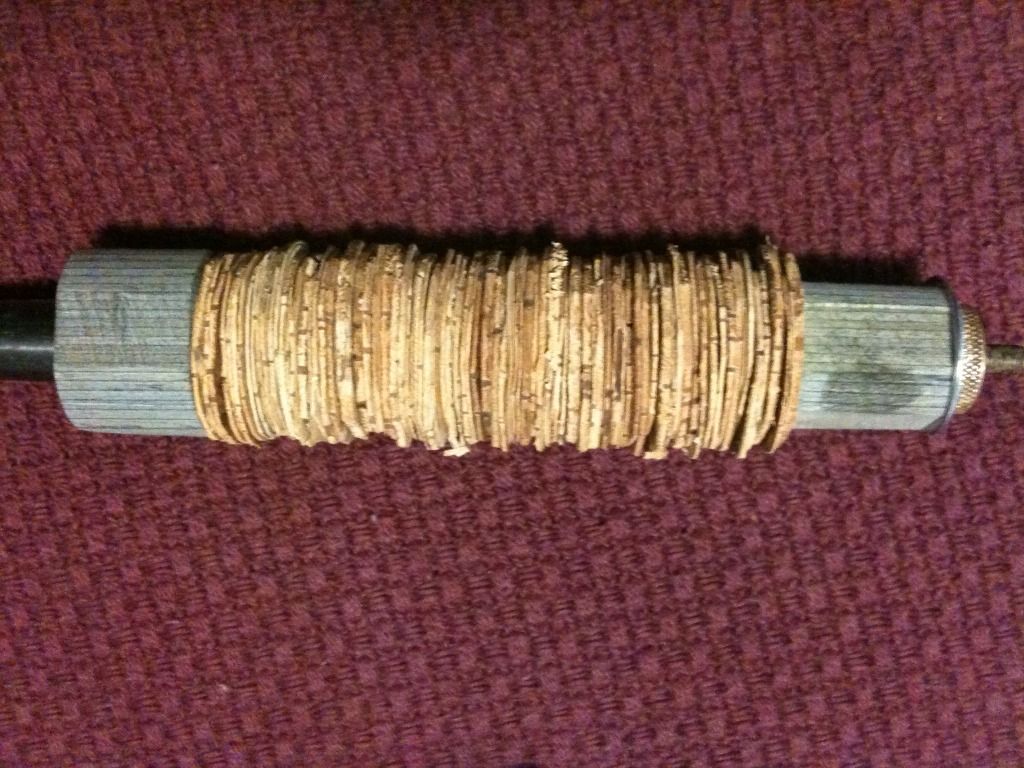
Last edited by Rodbuilder1971; 12/03/12 10:24 PM.
|
|
|
Re: BIRCH BARK GRIP TUTORIAL. Hope you enjoy it.
[Re: Rodbuilder1971]
#8292513
12/03/12 04:07 AM
|
Joined: Aug 2012
Posts: 194
Rodbuilder1971
OP
Outdoorsman
|
|
OP
Outdoorsman
Joined: Aug 2012
Posts: 194 |
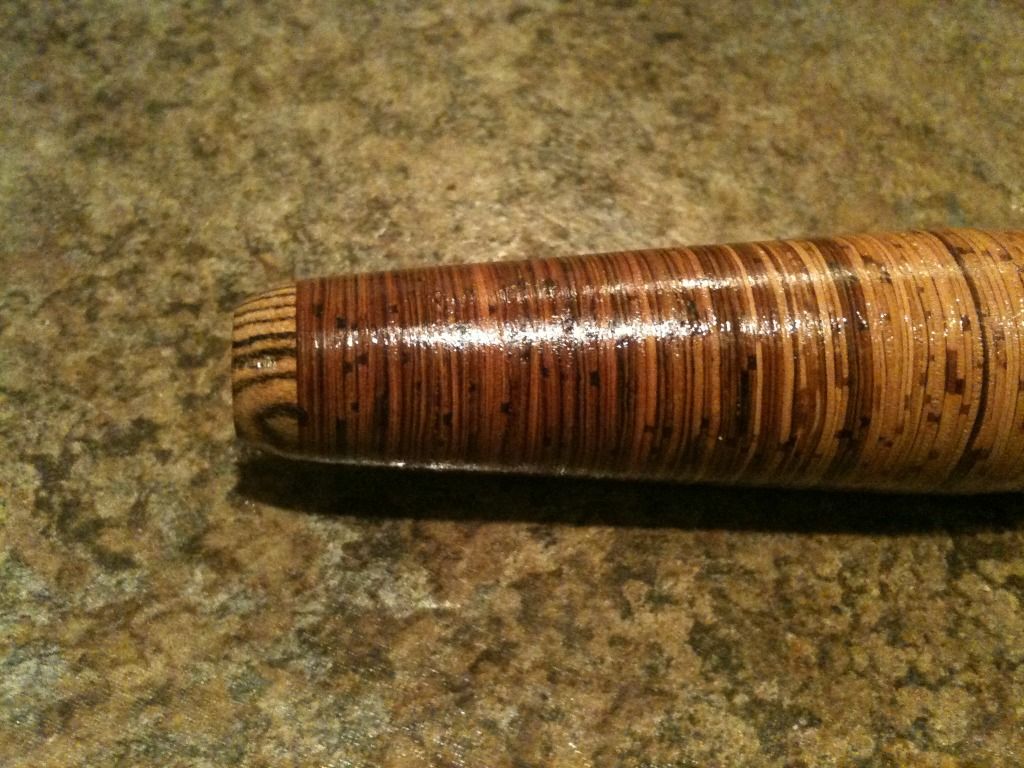
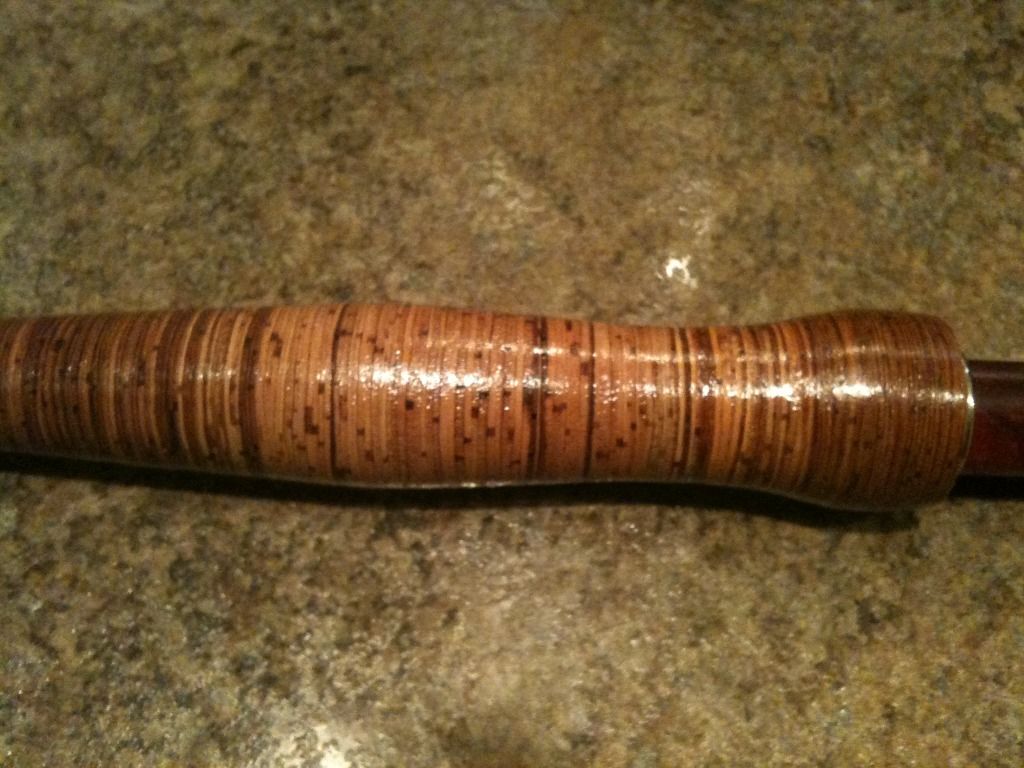
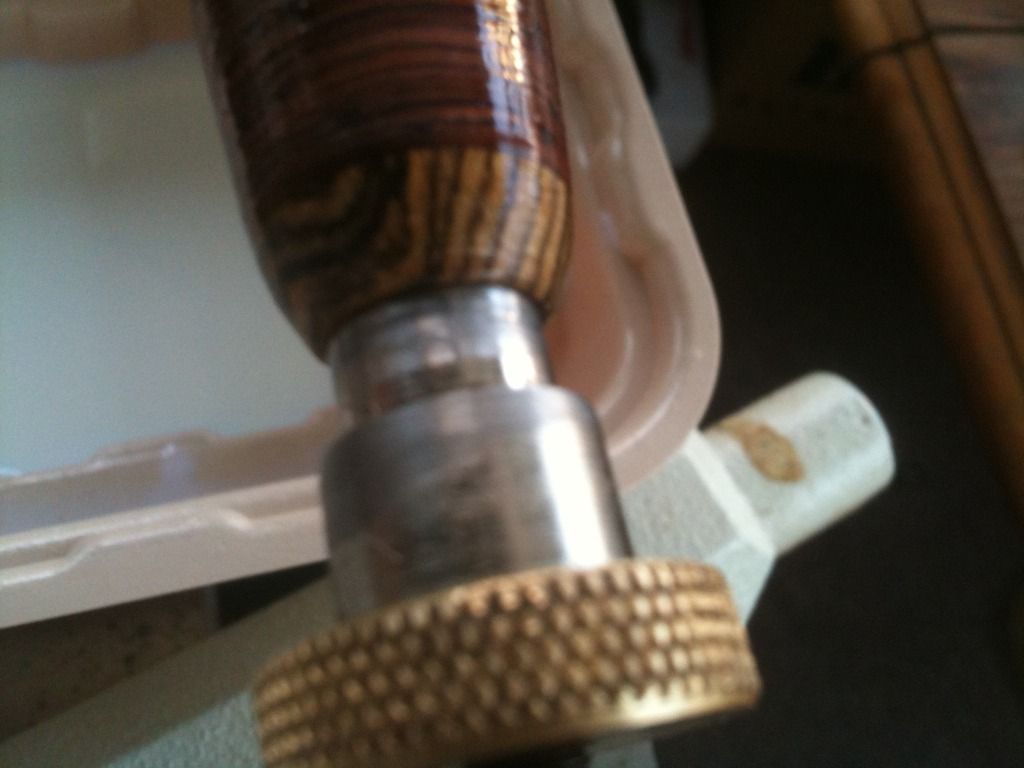
Once dried you can either use a lathe or even a drill press (here is an attachment to turn your drill press in to a lathe for $18.00 http://www.grizzly.com/outlet/Lathe-Attachment-for-Drill-Press/H8071 ) Or you can clamp down a dremel or electric hand drill and make a chuck to hold the other end of the threaded rod out of wood with a piece of metal tubing inside the hole (epoxied in place). From there you can use sand paper strips to start forming your grip. You can use pieces of wood and dowels of wood with sand paper wrapped over them to make this easier than having to use lathe tools. I highly recommend wearing a glove while doing this so your hand does not heat up. Start with a rough sand paper and work your way down to a smooth finish paper (60 grit down to 400 or 600 grit). If there are any pits in your grip then you can fix it. Take some of the dust and use minwax fast drying polyurethane to fill it the pits. Once dried sand it smooth again. From there use Fast drying polyurethane with a paint brush to seal and coat the grip. I like to use between 5 to 8 coats of polyurethane on the finished grip to make it durable and sealed tight. Keep the grip turning while you apply the finish and to dry it evenly. When you apply the finish by brush remember to work it down like a candy cane to take off all the extra polyurethane. From there you can take the grip off once it is dried. From there you can take your reaming tool and smooth out the edges inside between the bundles. This will help remove the wax and any other tape stuck inside the grip. A really safe way to do this is by either using 2 layers of shrink wrap over it or using cling wrap covered with tape on top so it gives more stability while you ream out the grip. If you are using a reel seat that fits inside the bottom of the grip then you can make this easier by measuring the first bundle to the size of the reel seat insert. Using either a pen milling set from woodcraft also known as a barrel trimmer. http://www.woodcraft.com/Product/2083645/35449/Whiteside-Pen-Mill-Set.aspxor a forstner bit makes this really easy. Or you can go with this bit which is a little more expensive. http://www.dancraftent.com/detail/index.cfm?nPID=1659 You can get it to exactly fit when using the digital calipers to get the outer diameter of the reel seat insert and matching it up to the perfect size bit. I have found that the penn milling set from woodcraft is a perfect fit for struble and other reel seats that are common these days. Plus it has a alignment shaft attached so you can be precise with your centering right off the bat. After you get the handle all reamed out, scratch up the rod blank and glue the grip in place using some good old 5 minute epoxy. Remember to already have the reel seat glued in place on the rod blank first. Hope you enjoyed this and to see what you come up with. You can make accent strips in grips and change it up using exotice woods and cork too.
Last edited by Rodbuilder1971; 12/03/12 04:45 AM.
|
|
|
Re: BIRCH BARK GRIP TUTORIAL. Hope you enjoy it.
[Re: Rodbuilder1971]
#8292520
12/03/12 04:08 AM
|
Joined: Aug 2012
Posts: 194
Rodbuilder1971
OP
Outdoorsman
|
|
OP
Outdoorsman
Joined: Aug 2012
Posts: 194 |
Last edited by Rodbuilder1971; 12/03/12 04:33 AM.
|
|
|
Re: BIRCH BARK GRIP TUTORIAL. Hope you enjoy it.
[Re: Rodbuilder1971]
#8292526
12/03/12 04:09 AM
|
Joined: Aug 2012
Posts: 194
Rodbuilder1971
OP
Outdoorsman
|
|
OP
Outdoorsman
Joined: Aug 2012
Posts: 194 |
Last edited by Rodbuilder1971; 12/03/12 10:45 PM.
|
|
|
Re: BIRCH BARK GRIP TUTORIAL. Hope you enjoy it.
[Re: Rodbuilder1971]
#8292531
12/03/12 04:09 AM
|
Joined: Aug 2012
Posts: 194
Rodbuilder1971
OP
Outdoorsman
|
|
OP
Outdoorsman
Joined: Aug 2012
Posts: 194 |
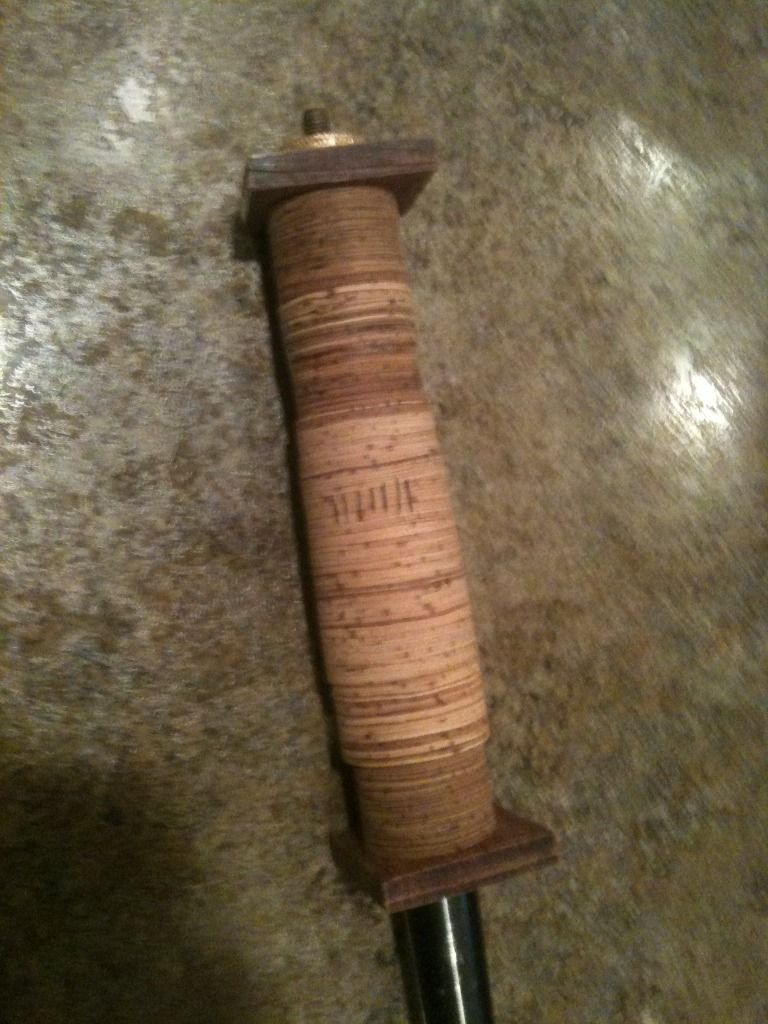
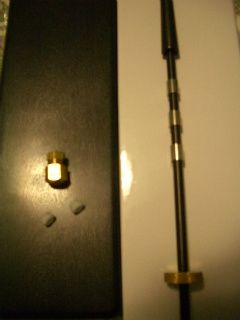
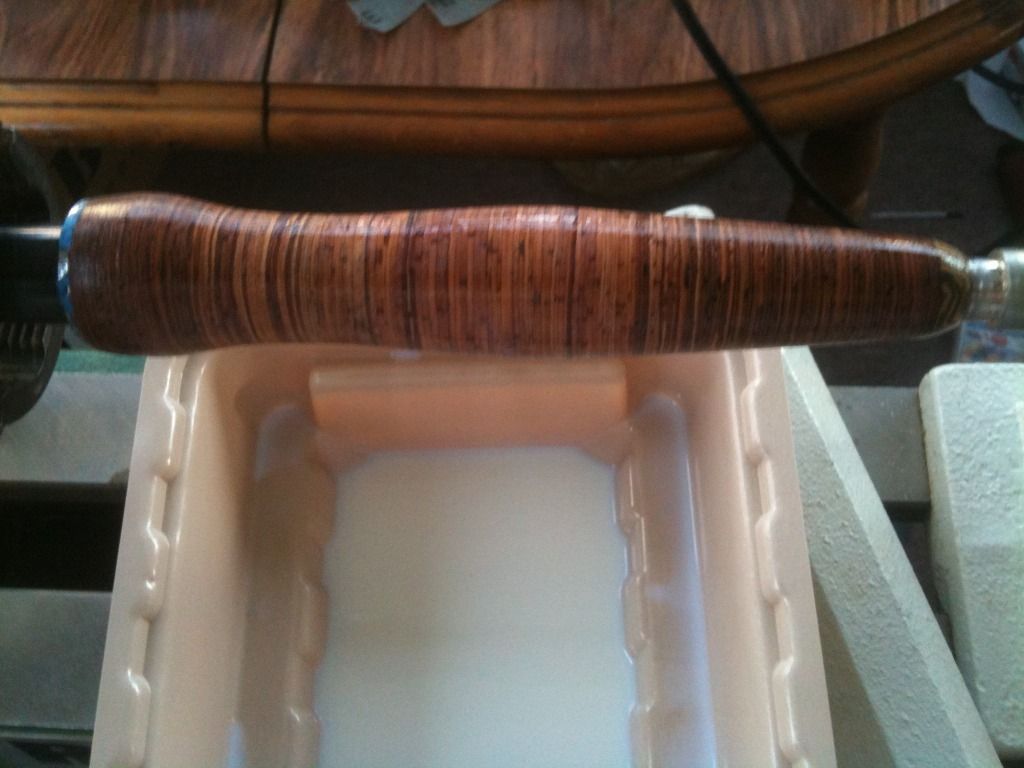
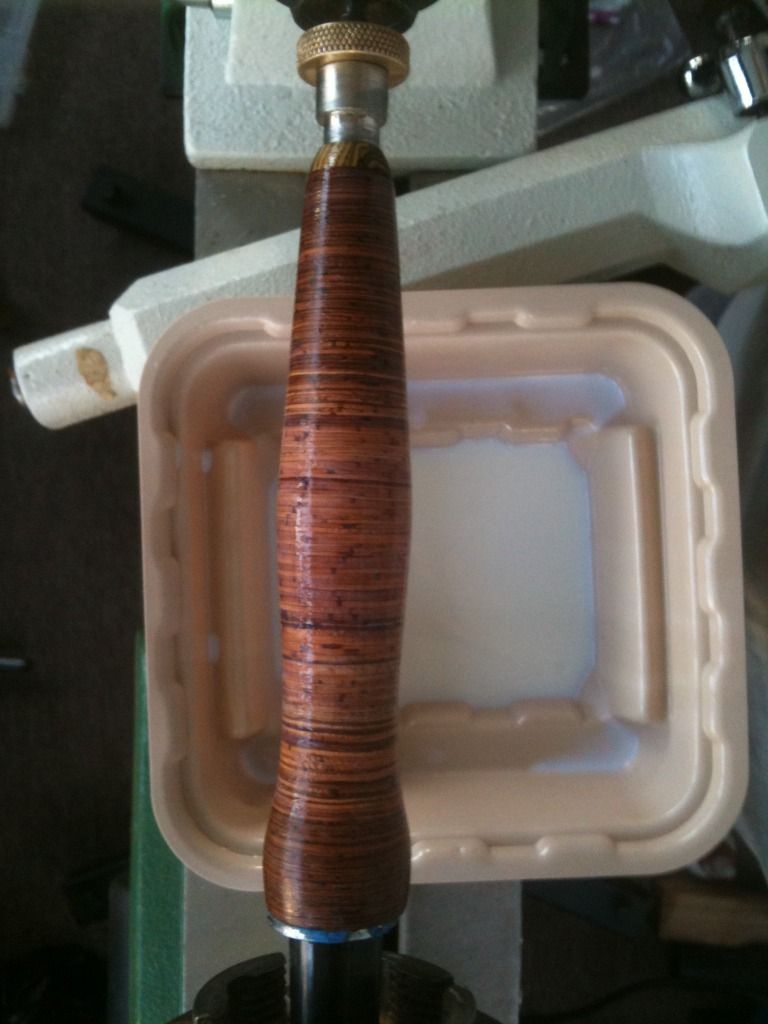
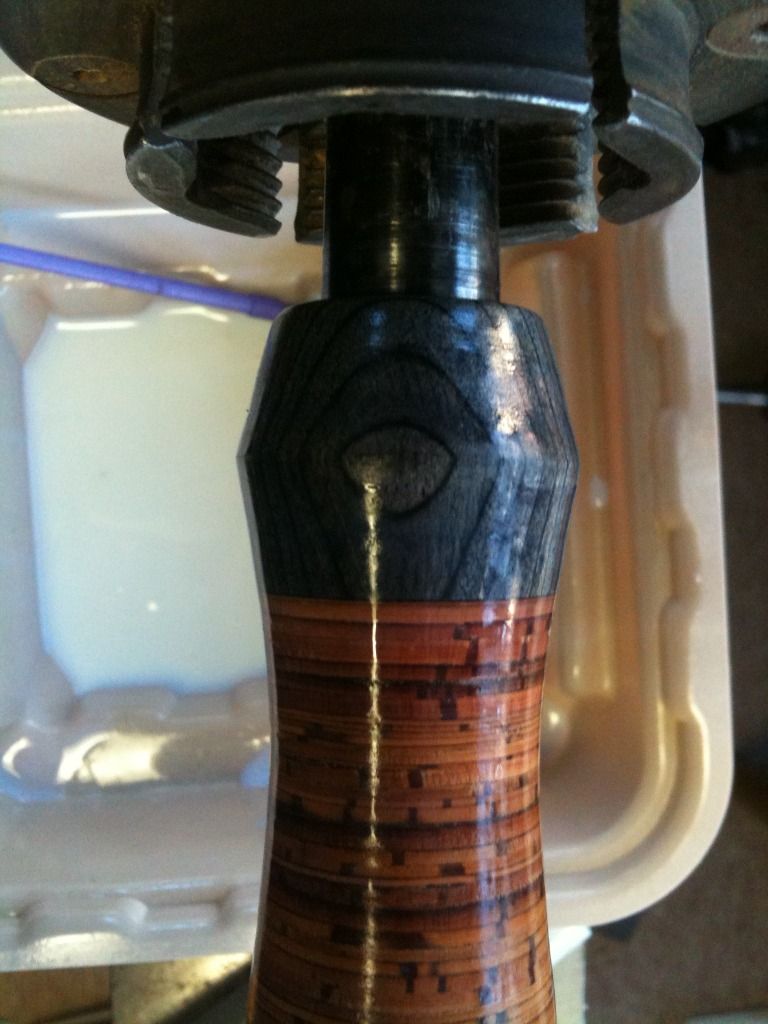
Threaded rod used for compressing grip. 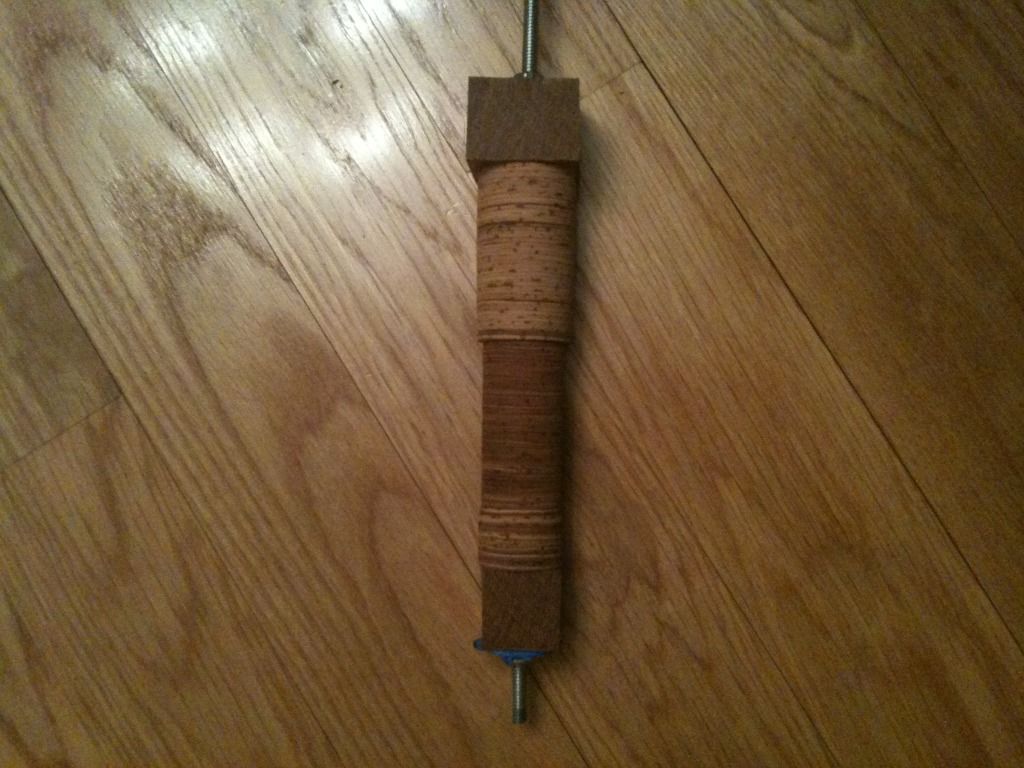 Forming the grip. I used a lathe tool first then switched to sand papers but sand paper will take it right down just as fast. Take your time when sanding it down. 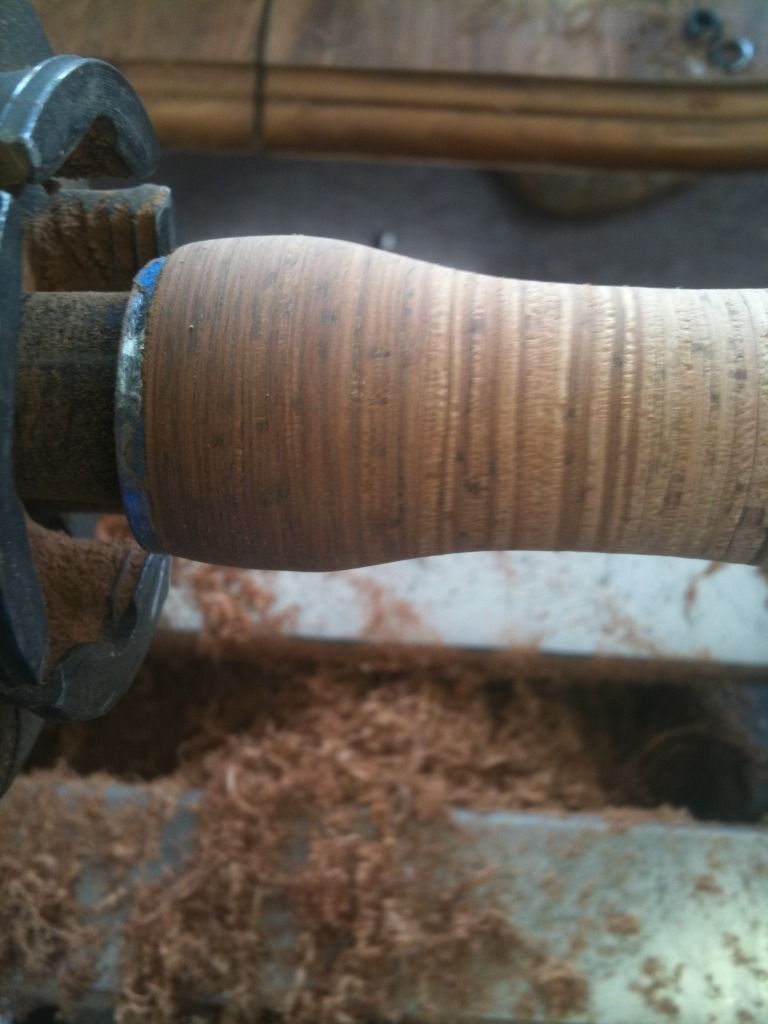 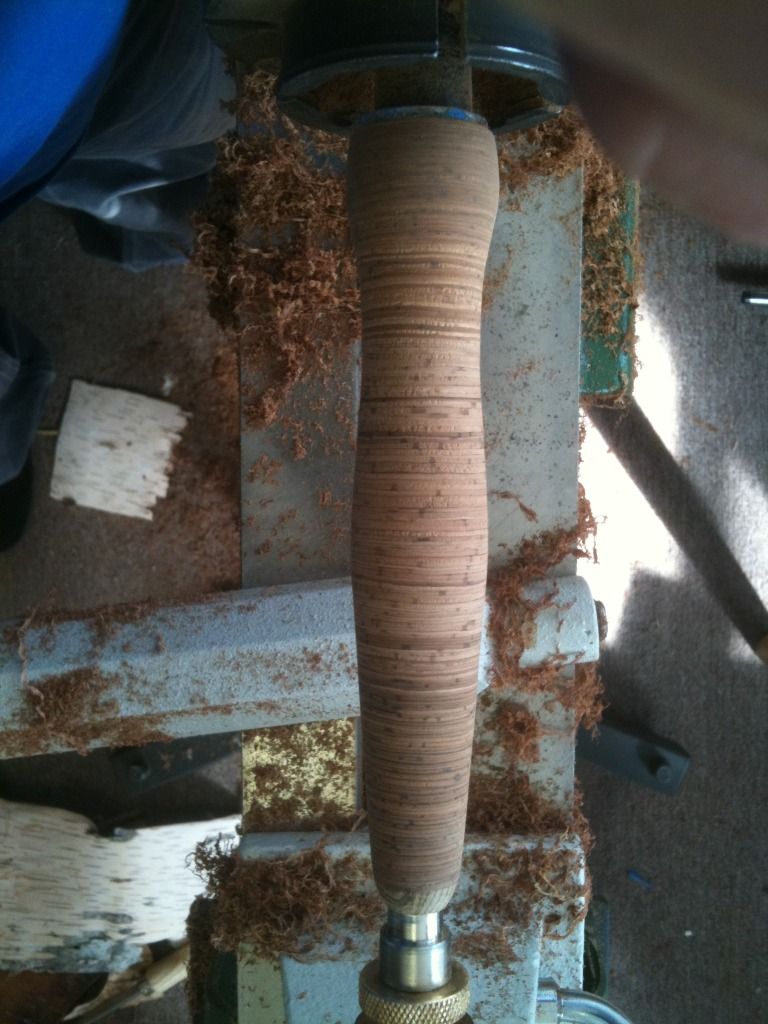 Pen mandrel used to turn grip instead of threaded rod. Both are good to use for this. Liked using the pen mandrel because it fit in the lathe better and had them handy at the time. Plus they are also perfect grip length and only threaded at the end of the rod. Remember that you are also sanding 2 different types of wood (if you prefer to do end caps) So it is best to shape down the harder pieces first and then take your time when making the transition to each piece smooth. 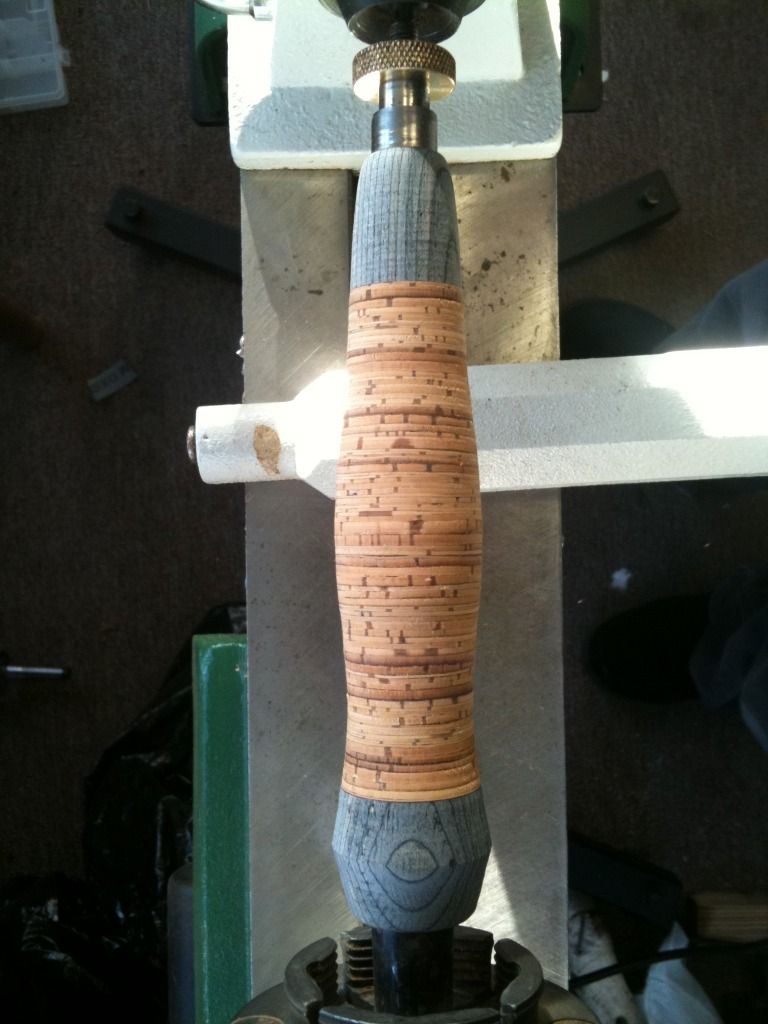
Last edited by Rodbuilder1971; 12/03/12 11:10 PM.
|
|
|
Re: BIRCH BARK GRIP TUTORIAL. Hope you enjoy it.
[Re: Rodbuilder1971]
#8292533
12/03/12 04:10 AM
|
Joined: Aug 2012
Posts: 194
Rodbuilder1971
OP
Outdoorsman
|
|
OP
Outdoorsman
Joined: Aug 2012
Posts: 194 |
Last edited by Rodbuilder1971; 12/03/12 11:41 PM.
|
|
|
Re: BIRCH BARK GRIP TUTORIAL. Hope you enjoy it.
[Re: Rodbuilder1971]
#8292536
12/03/12 04:10 AM
|
Joined: Aug 2012
Posts: 194
Rodbuilder1971
OP
Outdoorsman
|
|
OP
Outdoorsman
Joined: Aug 2012
Posts: 194 |
Last edited by Rodbuilder1971; 12/03/12 11:00 PM.
|
|
|
Re: BIRCH BARK GRIP TUTORIAL. Hope you enjoy it.
[Re: Rodbuilder1971]
#8292553
12/03/12 04:12 AM
|
Joined: Aug 2012
Posts: 194
Rodbuilder1971
OP
Outdoorsman
|
|
OP
Outdoorsman
Joined: Aug 2012
Posts: 194 |
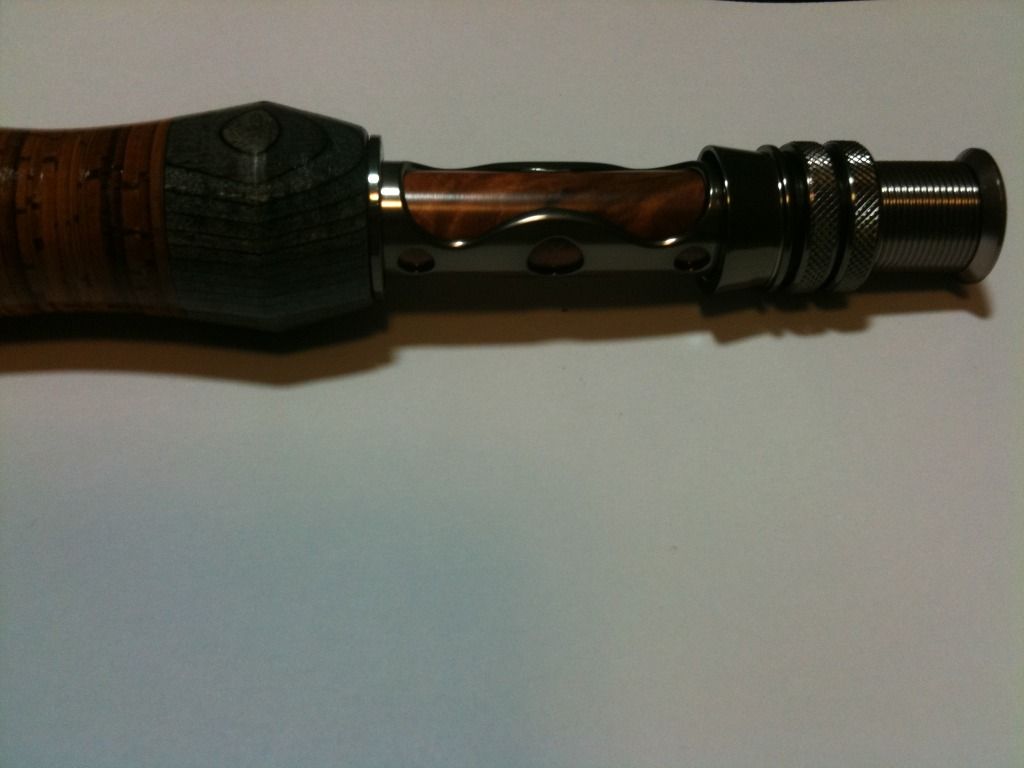
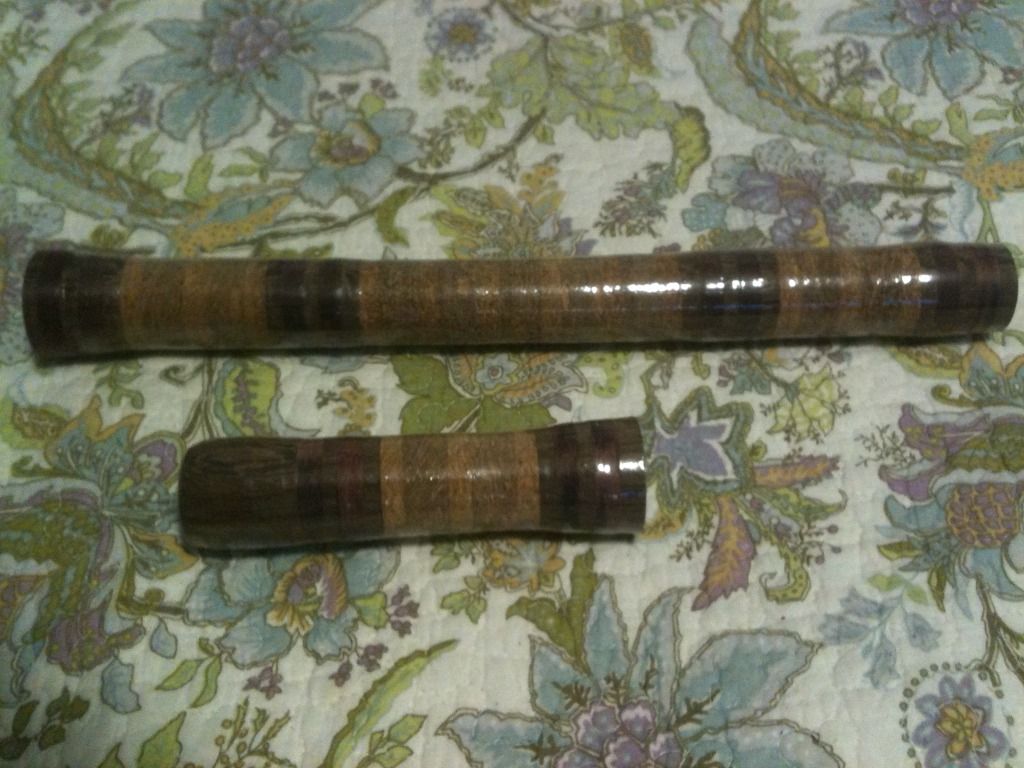
Bottom Split grip with birch bark accents, burl cork and hard wood ends. 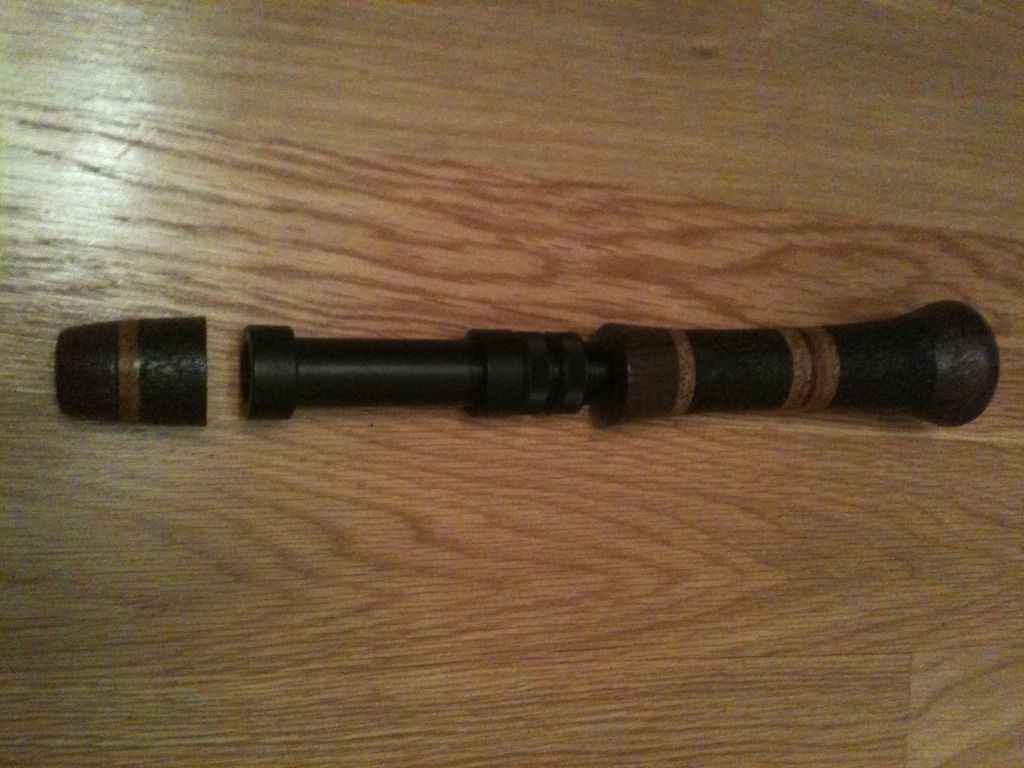 Top handle of split grip for spey rod. 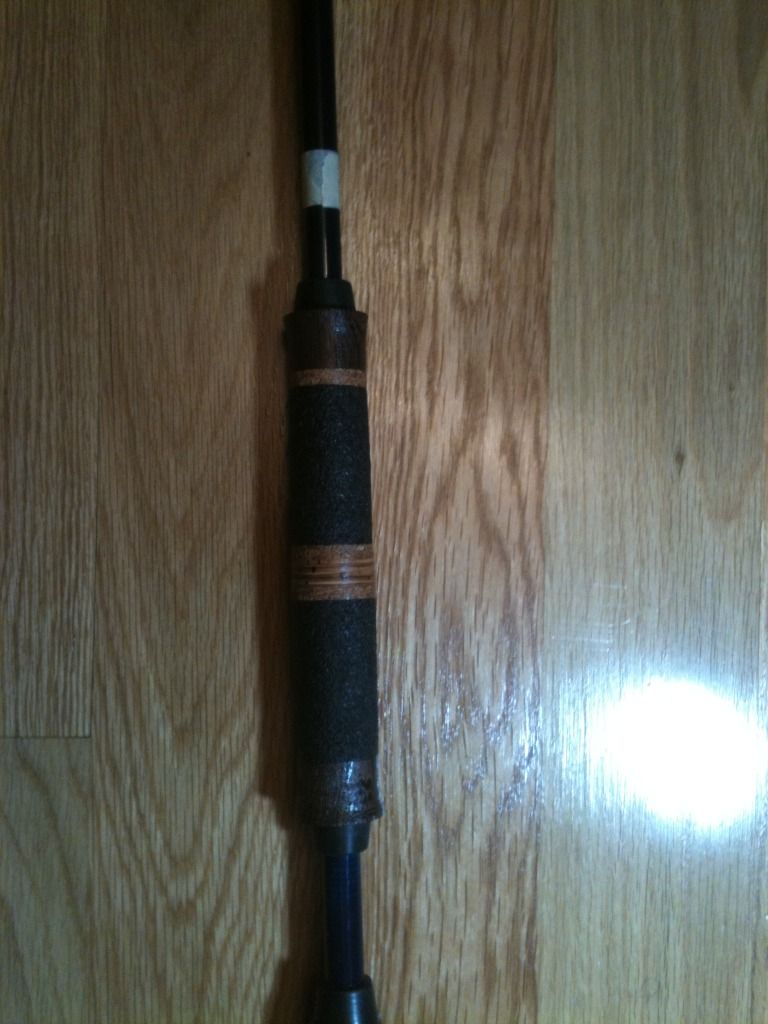 Burl cork rings and birch bark. 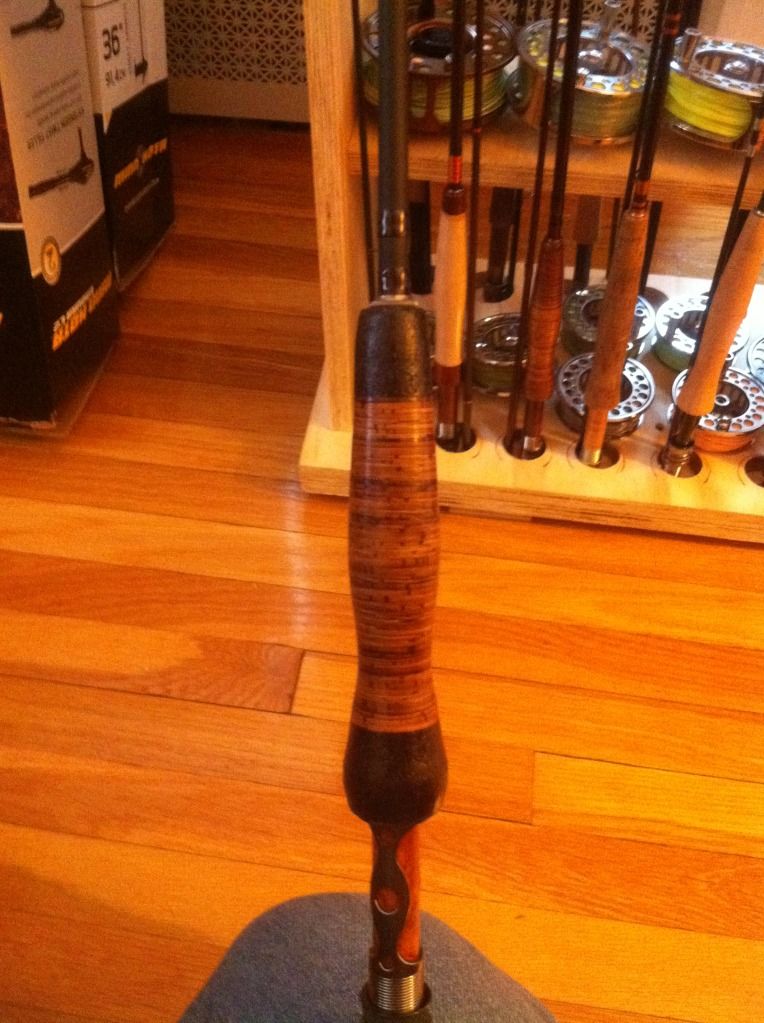 Fighting butt for 9wt G.Loomis. Burl cork rings and burl maple. 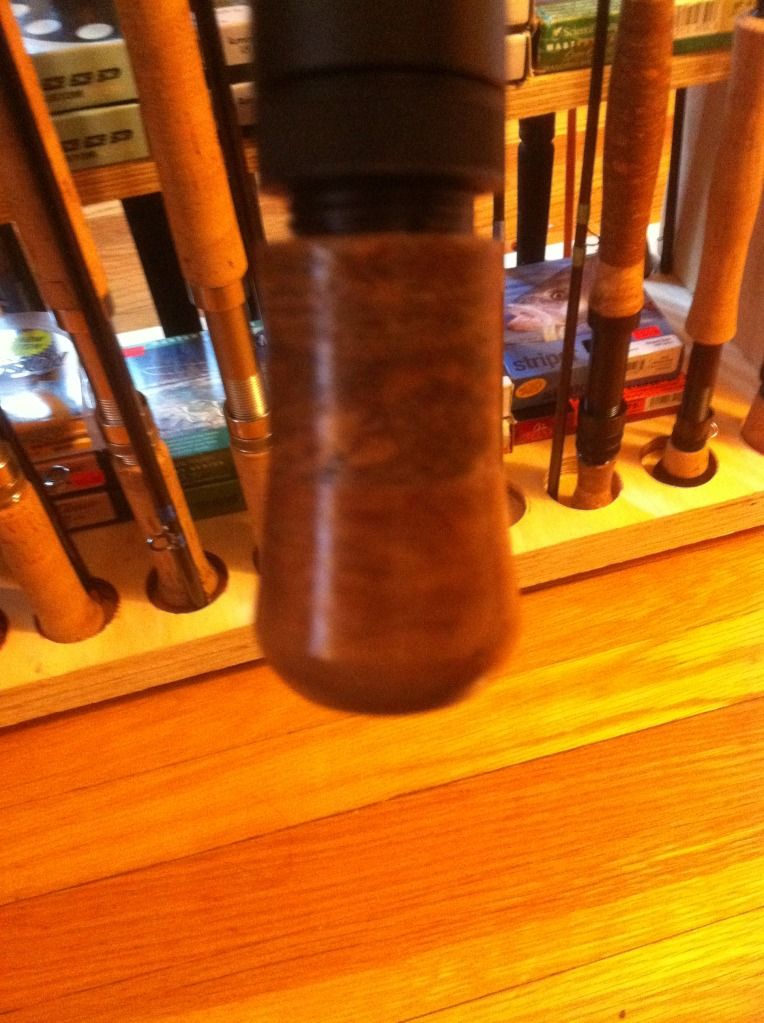 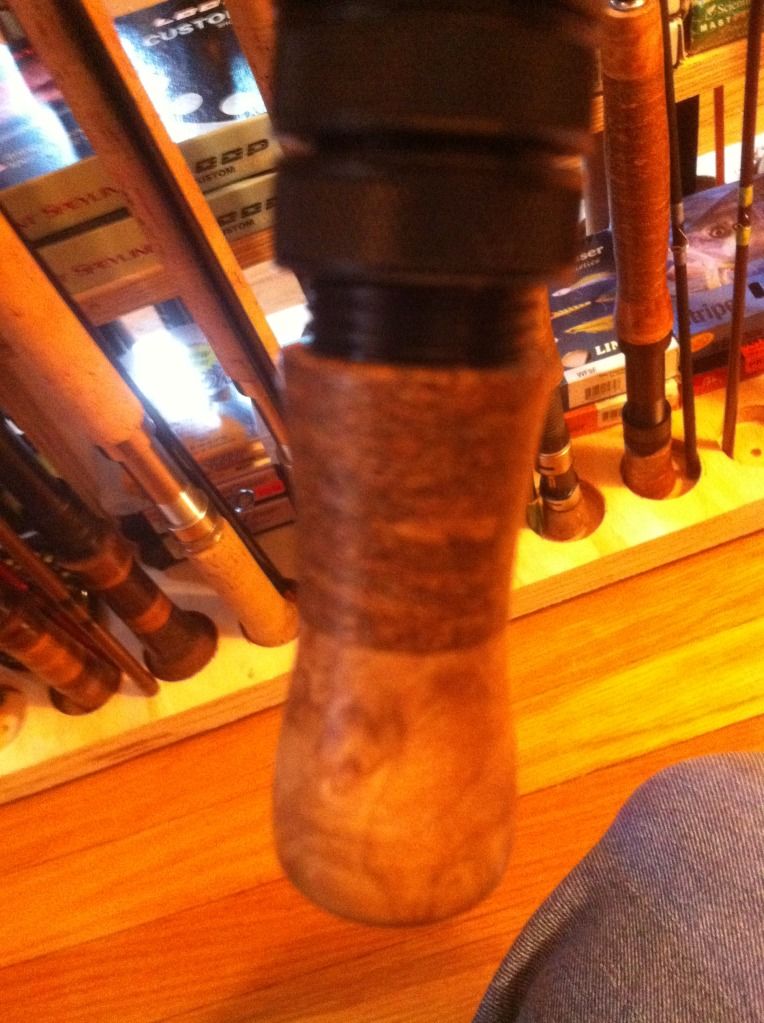
Last edited by Rodbuilder1971; 12/03/12 11:55 PM.
|
|
|
Re: BIRCH BARK GRIP TUTORIAL. Hope you enjoy it.
[Re: Rodbuilder1971]
#8292558
12/03/12 04:13 AM
|
Joined: Aug 2012
Posts: 194
Rodbuilder1971
OP
Outdoorsman
|
|
OP
Outdoorsman
Joined: Aug 2012
Posts: 194 |
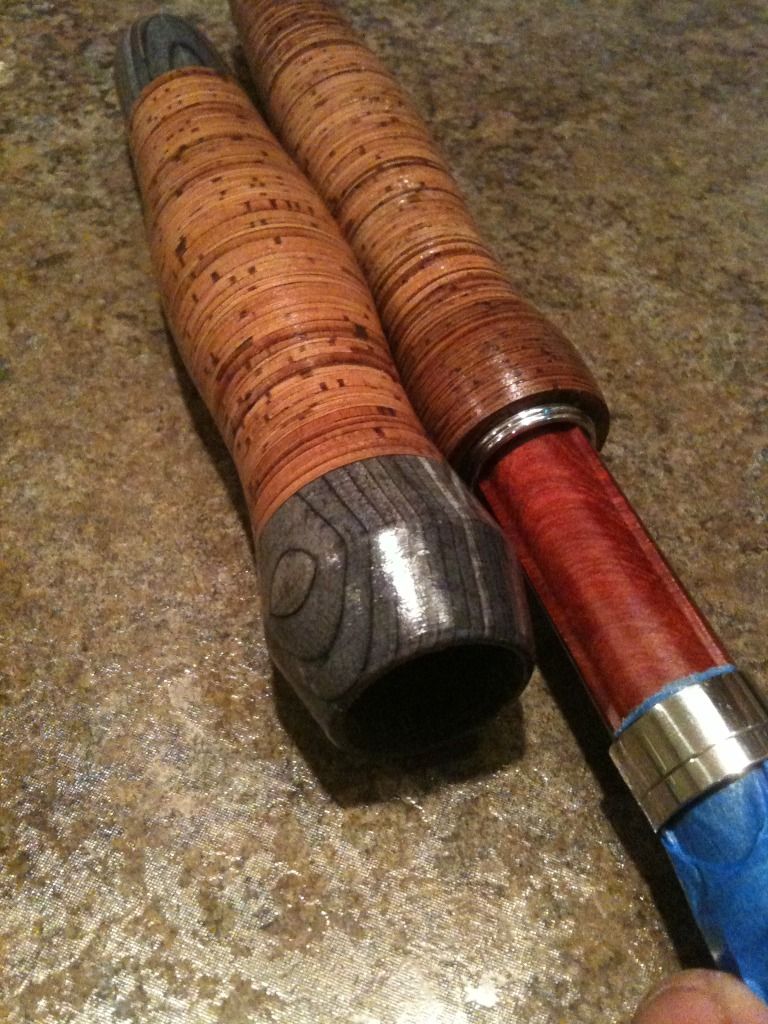
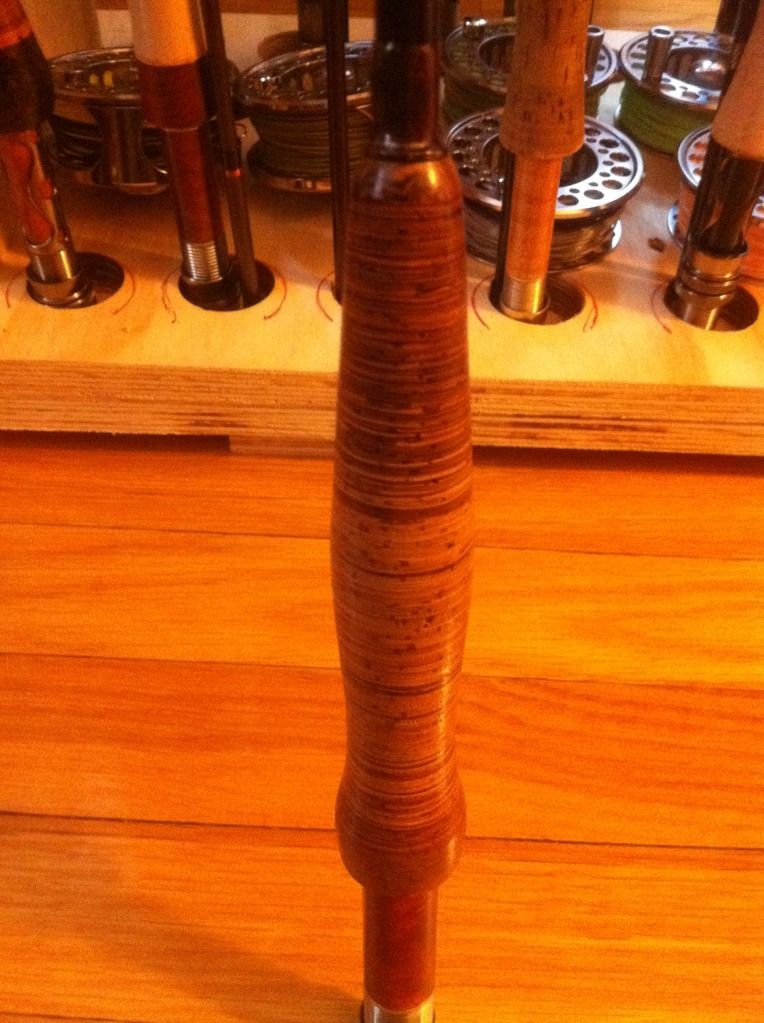
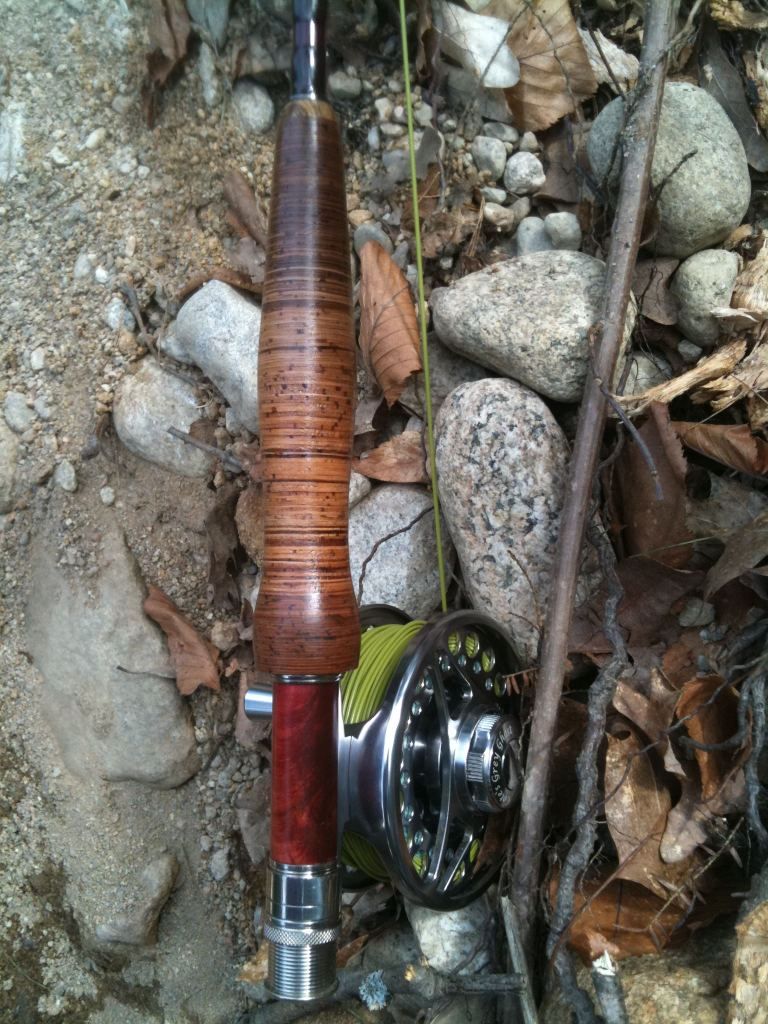 9' 5wt G.Loomis GLX and 10' 4wt G.Loomis GLX. Shrink wrap still on the 4wt handle. 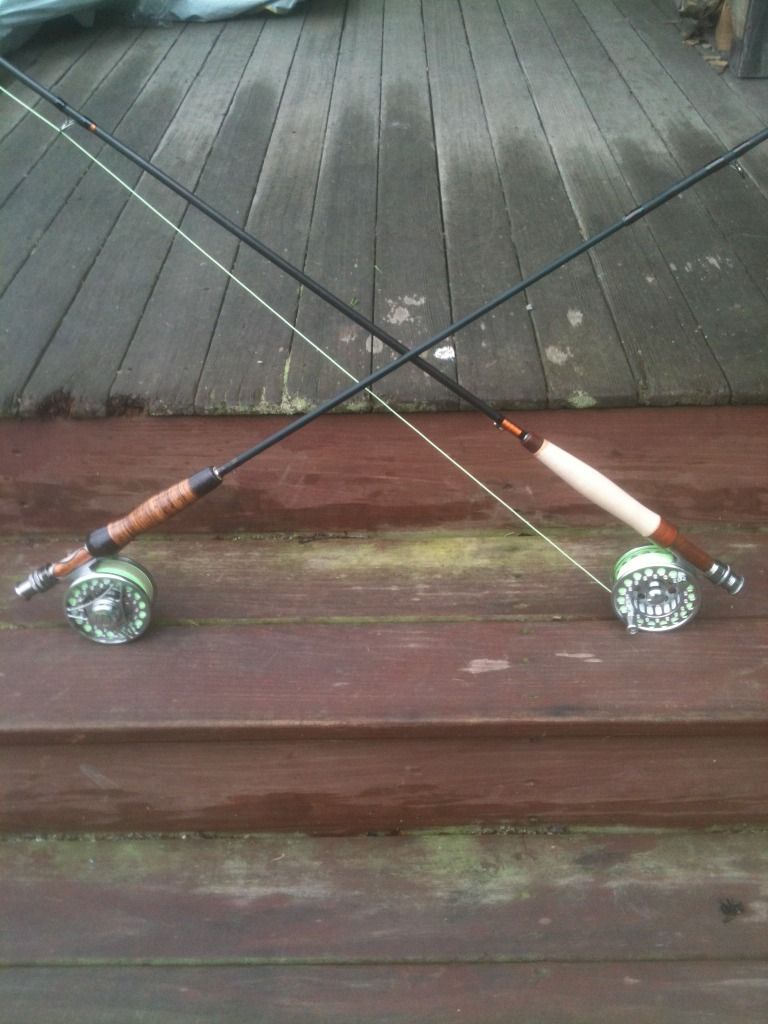 Finished with 6 coats of polyurethane. 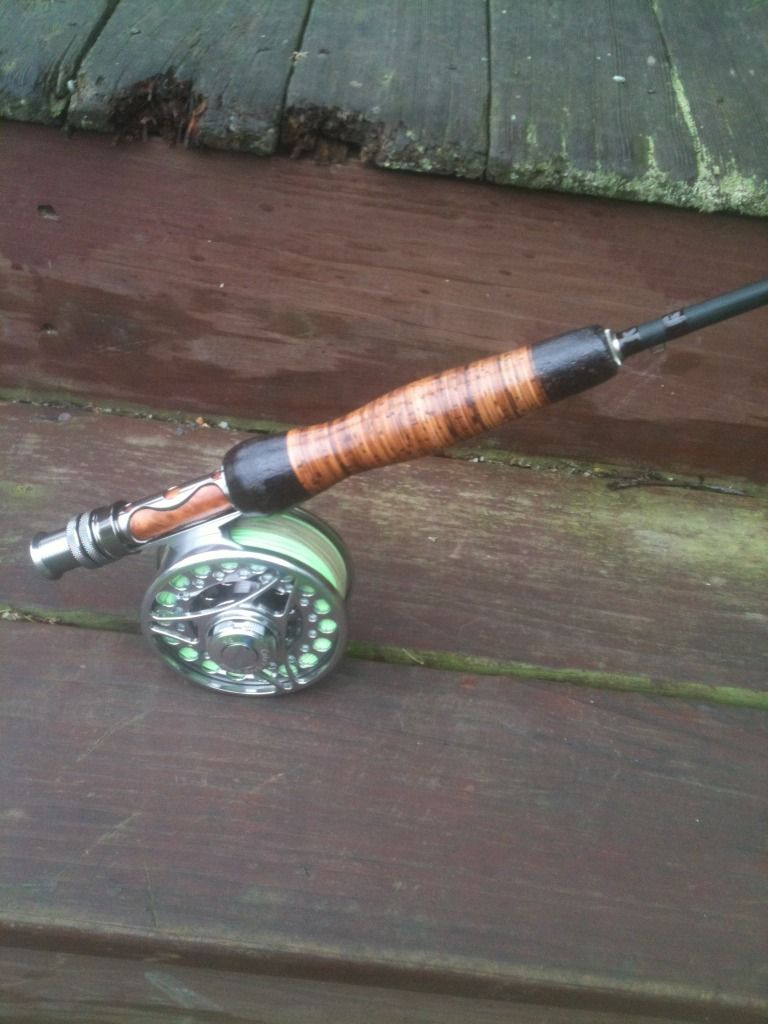 Checking the placement of grips before gluing it all together. Made a nice plug for the end of the fighting butt. SPLIT GRIP FOR SPEY ROD. 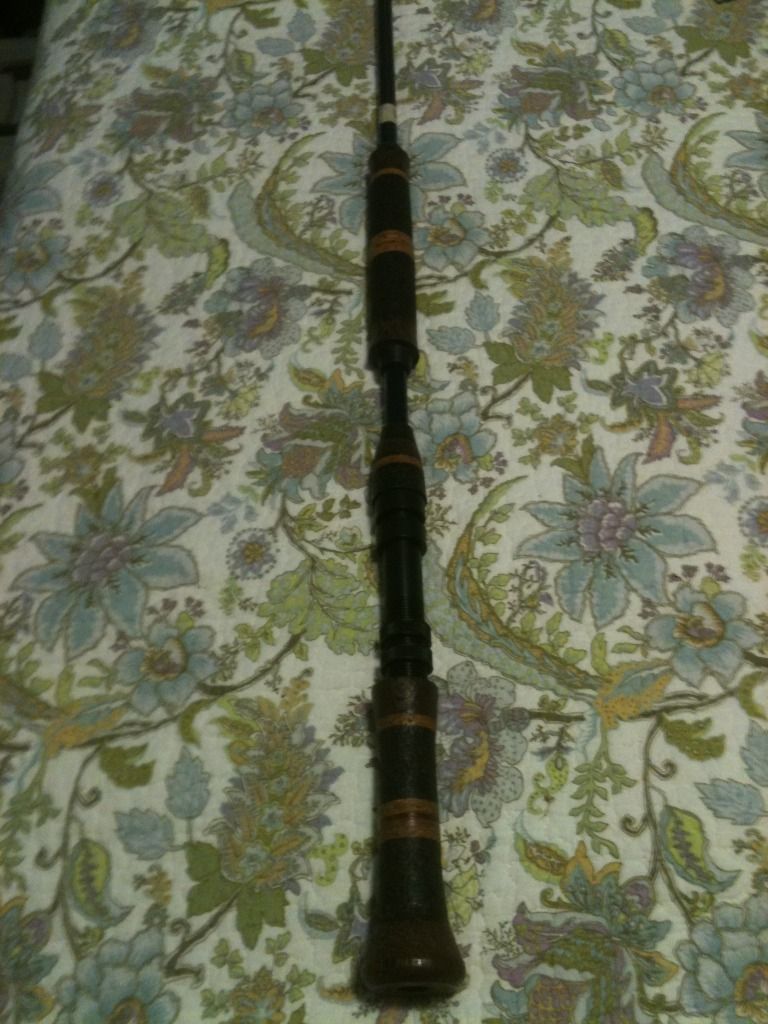 Once you get in to making grips you will be making them out of all different types of materials together. Phenolic glass which is used on bow limb tips is great for strips through your grips too.. Thanks for reading my posting. Sorry if this tutorial is not the best but I am typing it on NOTEPAD and can't see everything typed out. Had to do it this way since photoshop is acting funny and I will have to act fast to be able to share all the pics to go with the tutorial. Tight lines, Ricky V. FISH PICS Rainbow trout 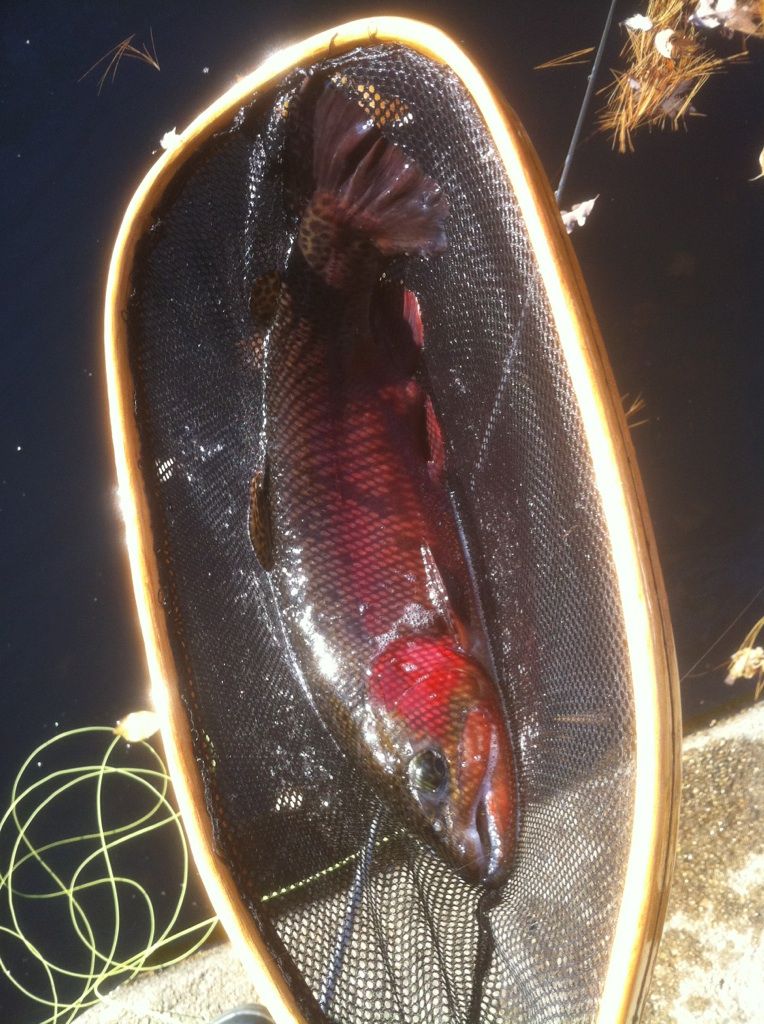     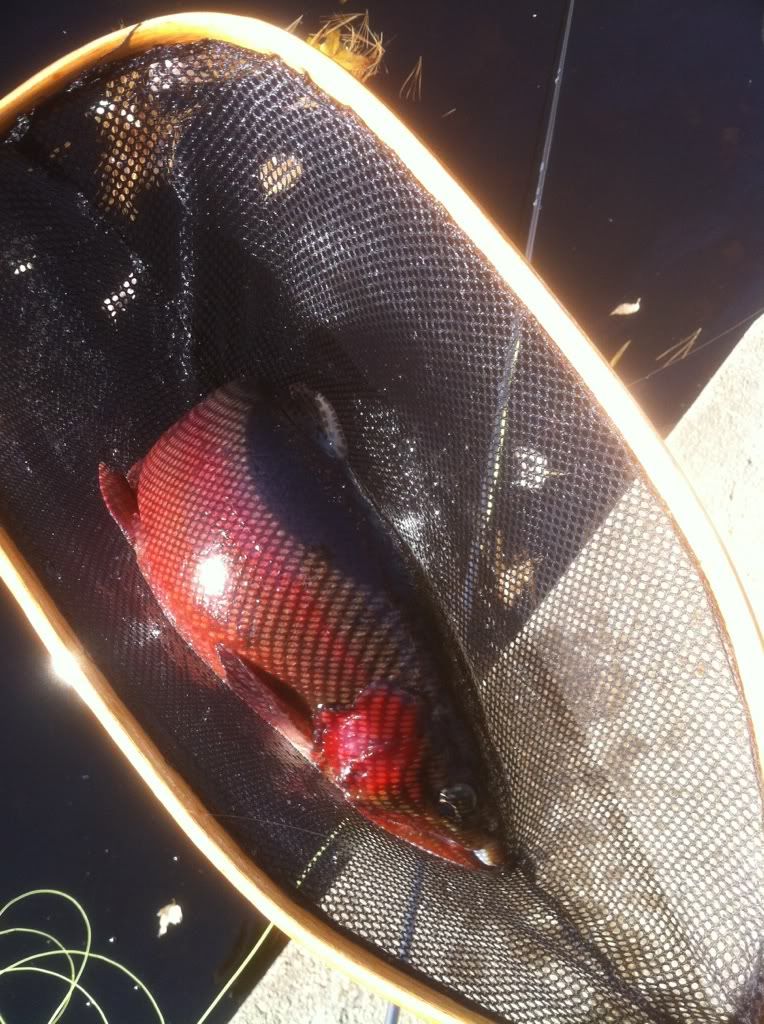
Last edited by Rodbuilder1971; 12/04/12 12:29 AM.
|
|
|
Re: BIRCH BARK GRIP TUTORIAL. Hope you enjoy it.
[Re: Rodbuilder1971]
#8292582
12/03/12 04:18 AM
|
Joined: Aug 2012
Posts: 194
Rodbuilder1971
OP
Outdoorsman
|
|
OP
Outdoorsman
Joined: Aug 2012
Posts: 194 |
Fish pics. Striper. Had a dip in my mouth. 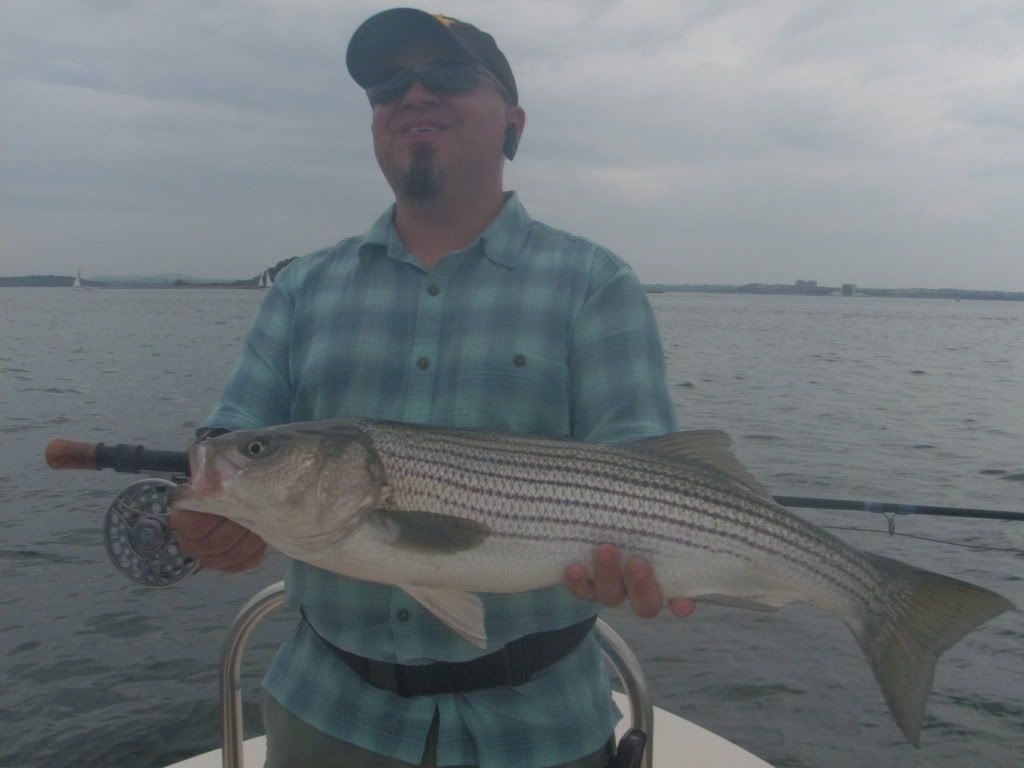 Chinook (king) salmon 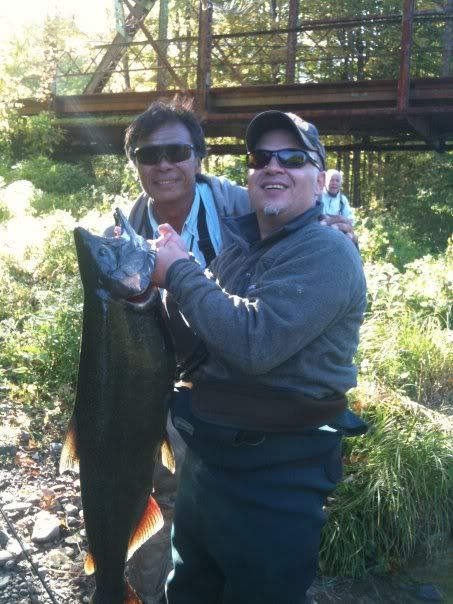 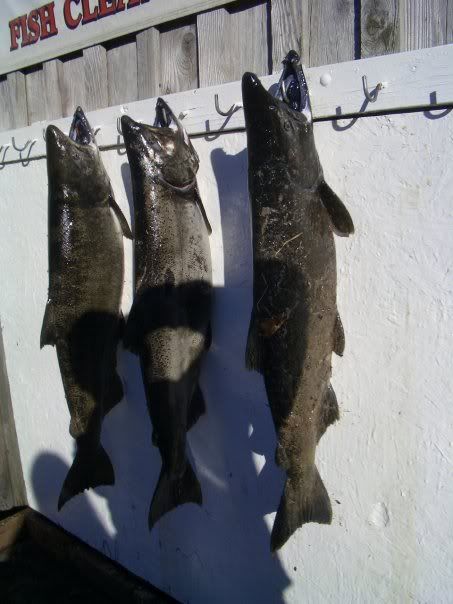 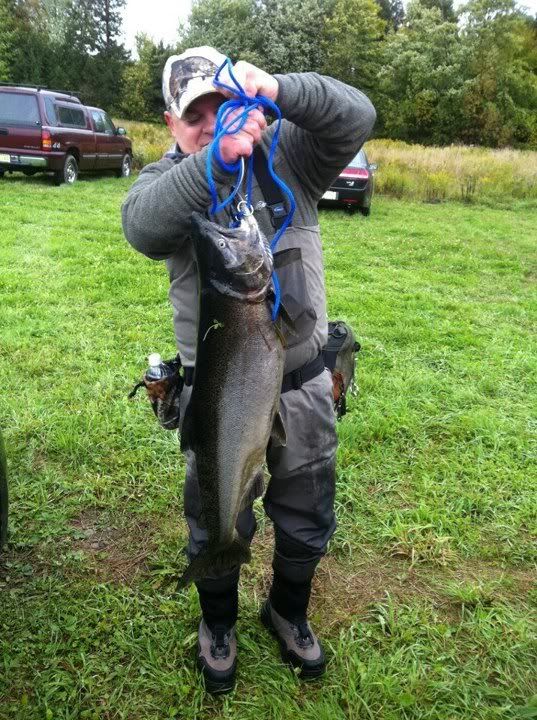 Have marks on them from laying on rocks in the river while on the stringer. 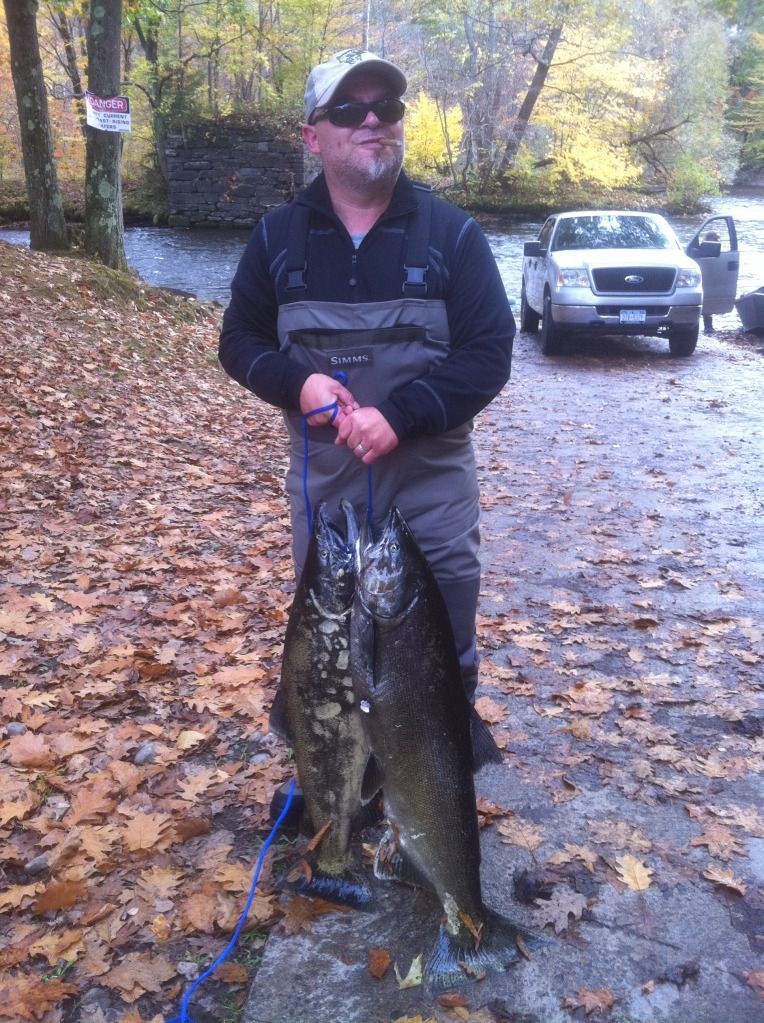 Steelhead 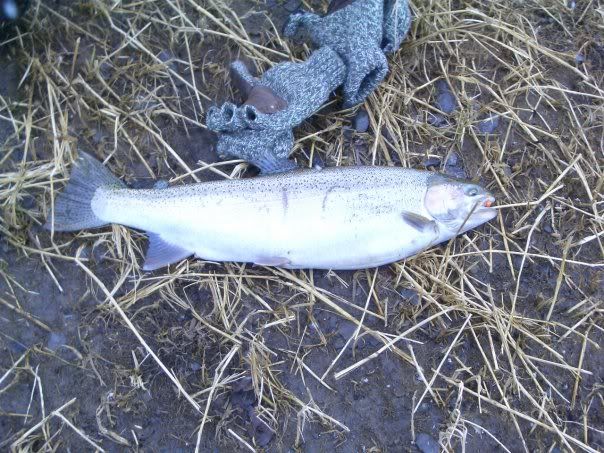 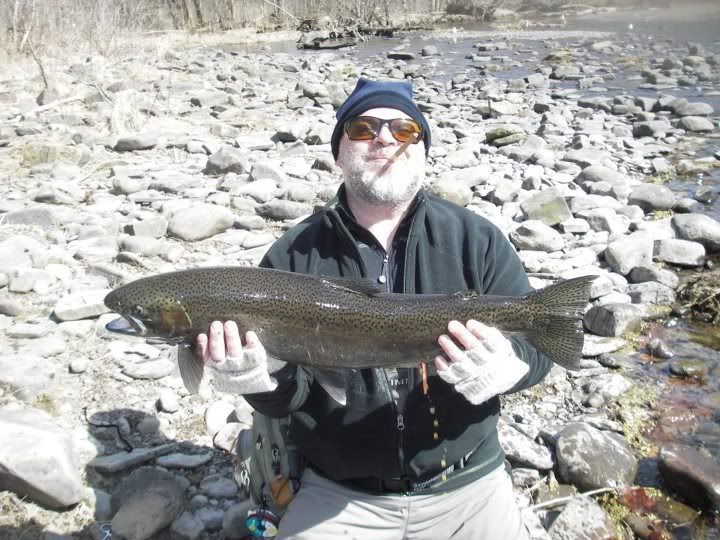 VIDEO. Sorry for saying hell yah a lot but didn't want to drop my cigar. 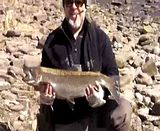 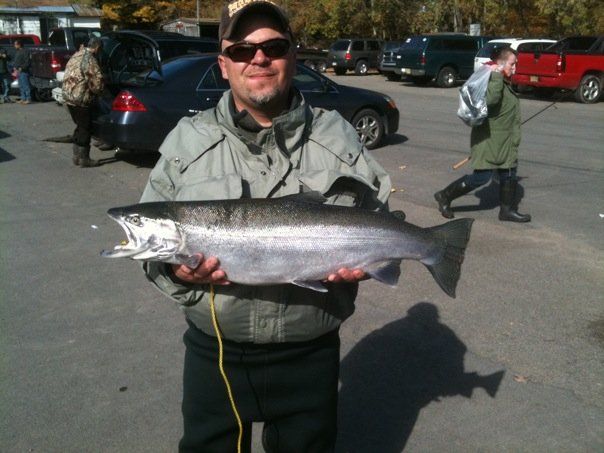 Trout  Sorry for the pics in some spots not being of the same grip but I had to choose from what I already had loaded in my photobucket. Photobucket has been freezing up on me and not letting me download more pics without kicking me off lately.
Last edited by Rodbuilder1971; 12/04/12 12:24 AM.
|
|
Moderated by banker-always fishing, chickenman, Derek 🐝, Duck_Hunter, Fish Killer, J-2, Jacob, Jons3825, JustWingem, Nocona Brian, Toon-Troller, Uncle Zeek, Weekender1
|